I love art and believe a great gallery wall can change a room. It adds personality and depth. Choosing the right pieces and arranging them is both hard and rewarding.
Whether you’re experienced or new to wall art, this guide has what you need. It will help you create a gallery wall that shows off your style.
Table of Contents
Understanding the Basics of Wall Art Displays
Creating a stunning art display on your walls can change a room’s feel. Using multi-frame layouts, grouping art, and designing your art wall can show your style. These methods make your space look balanced and draw the eye.
Benefits of Multiple Art Arrangements
Displaying many art pieces has its perks. It lets you show off a wide range of art, showing your diverse tastes. Plus, multi-frame layouts make a bold statement, adding depth and personality to any room.
Impact on Room Aesthetics
Placing grouped artwork smartly can greatly change a room’s look. A well-planned art wall brings balance, mixing different art styles and sizes. Think about ceiling height, colors, and furniture when setting up your display for a cohesive look.
Creating Visual Balance
Getting visual balance is crucial for a great art wall design. Mix big, bold pieces with smaller ones for harmony. Using different art styles and sizes makes your display interesting and balanced. Try out different setups to find what works best for you and your room.
“A well-curated art wall can transform a room, elevating the overall aesthetic and creating a visually engaging focal point.”
Essential Tools and Materials Needed
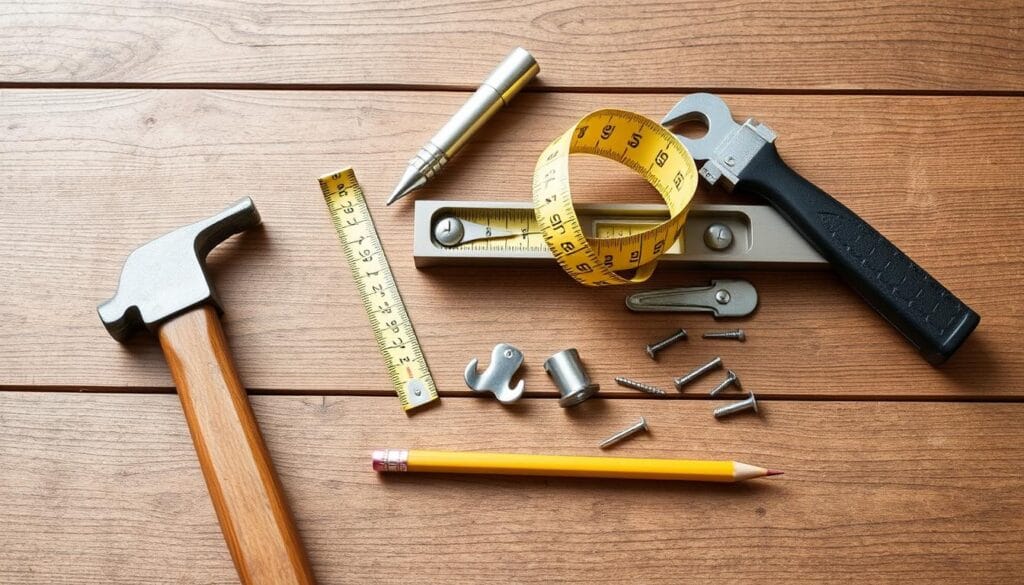
To make your art stand out, start with the right tools and materials. You’ll need these to hang multiple art pieces on your walls:
- Hammer – Choose a claw hammer for sturdy frames, a rubber mallet for fragile art, or a framing hammer for big projects.
- Nails or picture hanging hooks – Pick the right size based on your artwork’s weight for stability and safety.
- Measuring tape – Measure the wall and artwork to place them perfectly.
- Level – Hang your art straight and level for a professional look.
- Pencil – Mark where you’ll place your hangers or hooks for easy installation.
For light artworks, use picture hanging strips to avoid wall damage. For heavier pieces, consider the wall type and use the right anchors or screws for support.
| Tool/Material | Recommended Use | Weight Capacity |
|---|---|---|
| Nails or Hooks | Traditional hanging method | 30 lbs to 100 lbs |
| Wall Anchors | Increase security on drywall | Varies by anchor type |
| Steel Utility Hooks | Medium-weight items | Up to 30 lbs |
| French Cleats | Medium to heavy-weight items | 15 lbs to 700 lbs |
| Bear Claw Screws | No anchor needed on drywall | Up to 30 lbs (100 lbs with stud) |
| Adhesive Hooks | Lightweight, temporary displays | Varies by hook type |
With the right art hanging techniques and picture hanging tools, you’ll create a stunning and secure art display.
Planning Your Gallery Wall Layout
Before you start hanging your art, plan your gallery wall layout. This step makes sure your arrangement looks good and fits your space. Here’s how to plan:
Measuring and Space Allocation
Measure the wall where you’ll put your gallery wall. This helps you figure out the size of your display. Think about the size and scale of your wall art display pieces when allocating space.
Creating Paper Templates
Make paper templates of each artwork’s size and shape. Use these to try out different picture arrangement ideas on the floor or a big table. This way, you can see how it looks without damaging the wall.
Testing Different Arrangements
Put the paper templates on the floor or a big table to test layouts. Try different placements and spacings. This helps you find a layout that looks good before you put it on the wall.
Remember, a great gallery wall balances all the art pieces well. Start with the biggest piece at eye level, about 57 inches from the ground. Adjust based on your ceiling and furniture.
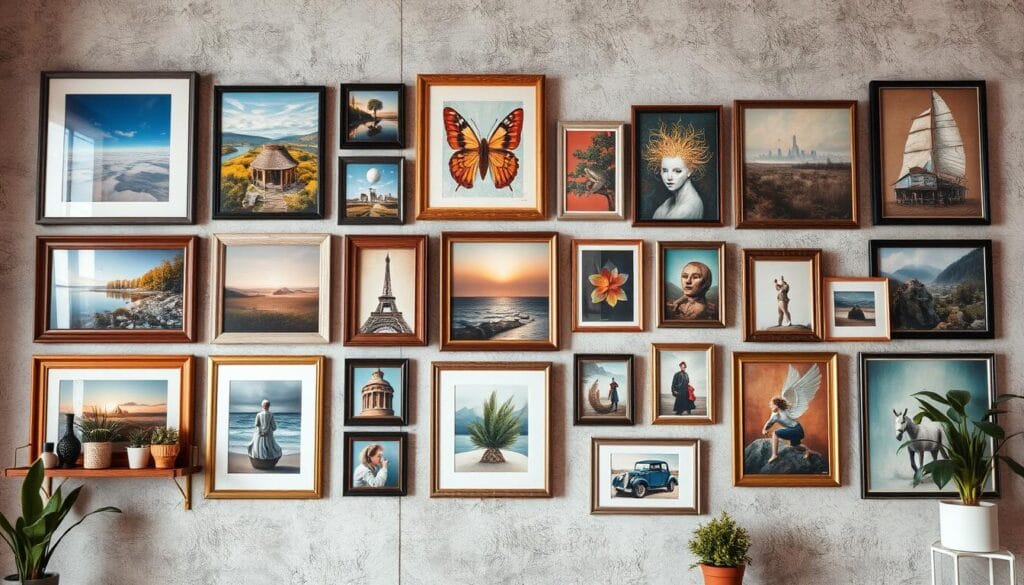
By planning your picture arrangement and trying out different layouts, you can make a beautiful wall art display. It will make your space look better.
How to Hang Multiple Pieces of Art on a Wall
Transforming a space with a stunning art hanging display is easy. Whether it’s your living room, bedroom, or office, the right multi-frame layouts can turn a blank wall into a masterpiece.
Start by placing the biggest piece at eye level. This is usually 145 cm or 152 cm (57 or 60 inches) above the ground. This height works well for both men and women. Then, space out larger artworks and group smaller ones together for a balanced look.
- Use a level to ensure the placement of each frame is straight and true.
- Aim for 3-6 inches of space between each piece of wall art and around all sides of the frames.
- Leave ample space between frames, trim, and molding to allow the gallery to breathe and feel visually appealing.
- For irregularly shaped items, such as sculptures or textiles, adjust the layout based on personal preference and the desired aesthetic.
To hang your art hanging display, use adhesive strips or nails. Make sure to drive into wall studs or use drywall anchors for heavier pieces. This way, you can create a stunning multi-frame layout that makes any space look better.
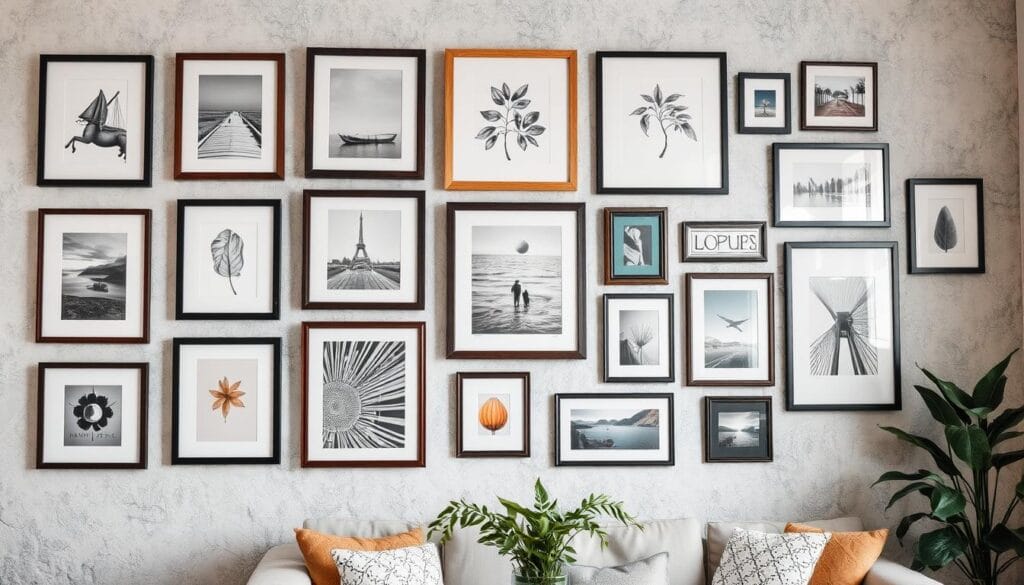
“Arrange the pieces in a way that creates a cohesive, harmonious display, allowing each work to shine while complementing the overall aesthetic.”
Choosing the Right Art Combinations
Creating a captivating gallery wall starts with carefully choosing artwork. It’s important to mix pieces that work well together. Think about style, color, and size to make your display stand out.
Mixing Different Art Styles
Don’t shy away from mixing art forms on your wall. Include paintings, photos, prints, collages, and mixed media. This variety adds depth and makes your display interesting.
Color Coordination Techniques
Choose a main color scheme for your wall. Then, add complementary colors and neutral tones for balance. Use different frame styles like white, black, and wood to tie everything together.
Size and Scale Considerations
Make sure the sizes of your artwork balance each other. Mix big and small pieces. Add non-framed items like photo strips or ceramics to break up the pattern. Round or circular pieces can also add to the display’s appeal.
By carefully picking your art and thinking about style, color, and size, you can make a gallery wall that’s eye-catching. It shows off your personal taste and makes your space inspiring.
Professional Tips for Frame Selection
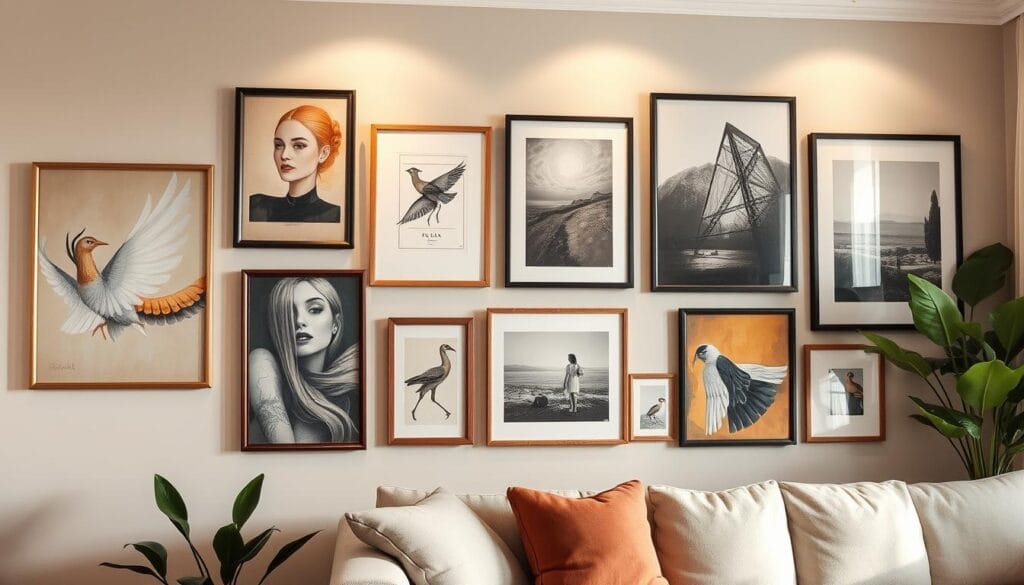
Choosing the right frames is key to a stunning picture wall. Mix different frame styles to add depth and interest. But, pick no more than three styles to keep it cohesive.
Pair simple, modern frames with ornate, gold-accented ones for a sophisticated look. This contrast makes your artwork stand out. Float mounting adds a unique touch to items like polaroids or ticket stubs.
For 3D objects or memorabilia, use shadowbox frames. They protect and display your items beautifully. Always think about the color palette of your art to keep it cohesive.
| Frame Material | Price Range per Linear Foot |
|---|---|
| Basic Wood | $5 – $20 |
| Premium Wood | $20 – $90 |
| Metal | $10 – $40 |
| Acrylic | $15 – $50 |
Custom framing costs vary from $40 to $250 per piece. The price depends on the style, material, and complexity. By choosing wisely, you can make your picture wall styling pop and show off your art beautifully.
Spacing and Arrangement Techniques
Creating a stunning wall art display is more than just hanging pieces. It’s about using smart spacing and arrangement. These techniques help make your space look like a masterpiece.
Optimal Distance Between Pieces
The best gap between art pieces is 3 to 6 inches. This lets each piece shine. Adjust this based on frame size for a balanced look. Big pieces need more space, while small ones can be closer.
Creating Visual Flow
To make your display flow well, start with the biggest piece off-center. Then, place the second biggest diagonally opposite. This adds interest and avoids a grid look. Mixing frame directions keeps things lively.
Balance and Symmetry
For a structured look, try mini-collections or grids. Spread colors, sizes, and styles to balance your display. This makes your wall art look cohesive and engaging.
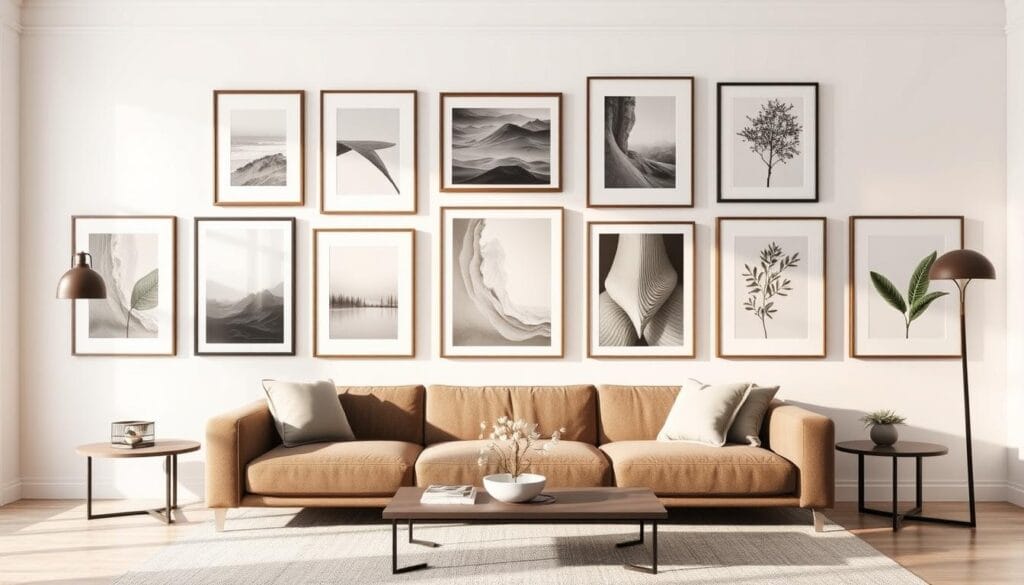
“The key to a successful wall art display is finding the right balance between intentional design and organic flow. By mastering the art of spacing and arrangement, you can transform a blank wall into a captivating focal point.”
Creating a stunning wall art display is all about trying new things. Be creative, experiment with layouts, and follow your gut. This way, you’ll make a space that shows off your style.
Creative Display Methods Beyond Traditional Frames
Showing off your art collection can be more than just frames. Try new ways to display your mixed media wall hangings and creative art displays. Add things like textiles, sculptures, or wall pieces to make your gallery wall pop.
Use clip strips to show off photos, postcards, or small prints. Hang colorful flags or detailed tapestries for a bold look. Try mounting ceramics, embroidery hoops, or round canvases for a change from the usual square shapes.
Floating shelves are great for changing up your gallery wall. Mix artwork, plants, sculptures, and decor to show off your style. This way, your walls become a dynamic, personal showcase.
Breaking free from traditional frames can turn your walls into exciting, three-dimensional displays. They not only showcase your art but also add a unique, engaging touch to your home.
Avoiding Common Installation Mistakes
When hanging multiple art pieces on a wall, it’s crucial to avoid common mistakes. These mistakes can ruin the look and damage your wall. Proper planning and execution are essential for a stunning and safe display.
Wall Damage Prevention
One major concern is wall damage from hanging art. To avoid this, plan your layout on the floor first. This ensures everything fits perfectly before you hang it. Also, use the right hanging hardware for your wall type and artwork weight. This keeps your art secure and stable.
Level and Height Guidelines
It’s important to level and center your art at the right height. Always use a level to ensure straight and even spacing. For height, the “57-inch rule” suggests eye-level placement, around 57 inches from the floor. Adjust this based on room furniture and ceiling height.
For a floor-to-ceiling gallery wall, keep spacing consistent for a balanced look. By avoiding common mistakes, you can improve your art hanging techniques. This creates a stunning display that enhances your space’s look.
Maintaining and Updating Your Art Display
To keep your art wall looking great, you need to take care of it regularly. Start by dusting and cleaning your artwork gently. This helps keep it looking good.
Think about changing the pieces with the seasons or adding new ones. This keeps your gallery wall feeling new. Remember to keep the balance and style of your arrangement the same.
For long-term care, use materials that protect your art from light and humidity. Check that all pieces are securely attached to the wall. This prevents accidents or damage. With a bit of care, your art wall design will stay beautiful for many years.
Updating your gallery wall updates lets you show off your changing tastes. Try out different layouts and frame styles. Use various artwork sizes to make your display interesting and engaging. Keeping your art wall fresh keeps it inspiring and enjoyable in your home.
FAQ
What are the benefits of creating a multiple art arrangement or gallery wall?
Creating a multiple art arrangement lets you express yourself more in your home. It makes use of empty space and brings everything together. A well-placed art wall adds balance and lets you mix different art styles.
What are some essential tools and materials needed for hanging multiple pieces of art?
You’ll need a hammer, nails or hooks, a measuring tape, level, and pencil. Choose the right hammer for your art: claw hammers for sturdy frames, rubber mallets for fragile ones, and framing hammers for big projects. For light pieces, use picture hanging strips to avoid damaging the wall.
How should I plan the layout for my gallery wall?
Start by measuring your wall and marking it with tape or paper. Arrange all your art pieces in this area to try out different layouts. Keep about 3 inches between each piece to avoid overcrowding.
Make paper templates of your art, mark where the hangers will go, and use tape to test the layout on the wall. Place the biggest piece at eye level, about 57 inches from the ground. Adjust for your ceiling and furniture.
What are some tips for choosing the right art combinations for a gallery wall?
Mix different types of art like paintings, photos, prints, and collages. Choose a color scheme to tie everything together. Use different frame styles, like white, black, and wood, to add variety.
Include non-framed items like photo strips, board paintings, flags, or ceramics. Adding round pieces can also add interest to your grid.
How should I space and arrange the pieces on my gallery wall?
Keep 3-6 inches between each piece, depending on the frame size. Place the biggest piece off-center and the second-largest diagonally opposite. Mix up the orientation of your art to keep it interesting.
Consider creating mini-collections or grids within your gallery wall. For asymmetrical layouts, balance colors, sizes, and styles across the display.
What are some creative ways to display art beyond traditional framed pieces?
Add unique items like textiles, sculptural pieces, or wall-mounted objects. Use clip strips for photos or postcards, hang flags or tapestries, or mount ceramic pieces. Try using embroidery hoops or round canvases to add variety.
Use floating shelves to display small items or create changeable scenes within your gallery wall.
How can I avoid common mistakes when installing a gallery wall?
Plan your layout on the floor first to avoid wall damage. Choose the right hardware for your wall and the weight of your art. Always use a level to ensure straight placement.
Follow the 57-inch rule for centering your art, but adjust for furniture and ceiling height. For tall galleries, keep spacing consistent for a unified look.
How should I maintain and update my art display over time?
Dust and clean your art regularly to keep it looking good. Rotate pieces seasonally or add new ones to keep things fresh. When updating, keep the balance and style of your arrangement.
Use high-quality framing materials to preserve your art. Check that all pieces are securely hung to prevent accidents.

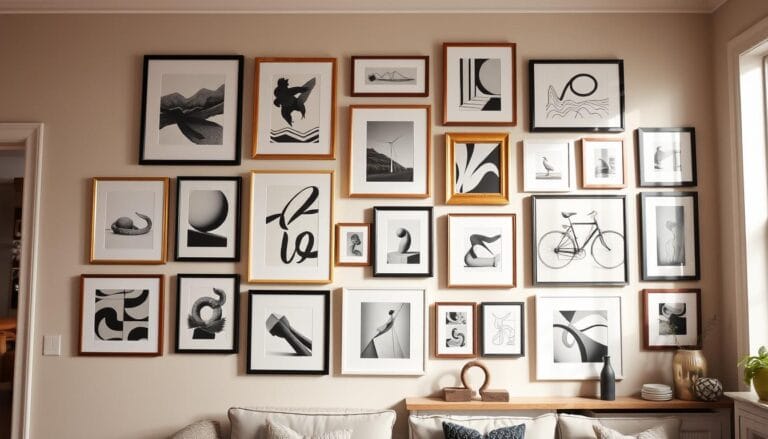
Hw to light up your art work on a wall with several pieces. My art work is horizontal on a 7’ section. Can you please tell me how to light and what kind of light.
Thank you,
Daria Dunivan
Hi Daria,
Thank you for your question! Lighting your artwork properly can make a huge difference in how it’s displayed. Since your artwork is spread horizontally over a 7-foot section, here are a few lighting options to consider:
Track Lighting: A track lighting system with adjustable heads allows you to direct light to each piece individually. Choose LED bulbs with a warm white (3000K) or neutral white (3500K) color temperature to enhance the artwork’s colors.
Picture Lights: If you want a more classic approach, you can install individual picture lights above each piece. Look for models with dimmable LED options to control brightness.
Recessed Ceiling Lights: If your ceiling allows, consider installing adjustable recessed lights (also called gimbal lights) to focus light on each piece at a 30-degree angle, minimizing glare and reflections.
Wall Washers: For a soft and even glow, wall washer lights or LED strips can highlight the entire section without harsh shadows.
Let me know if you’d like recommendations on specific products! 😊
Best,
Aria Art