
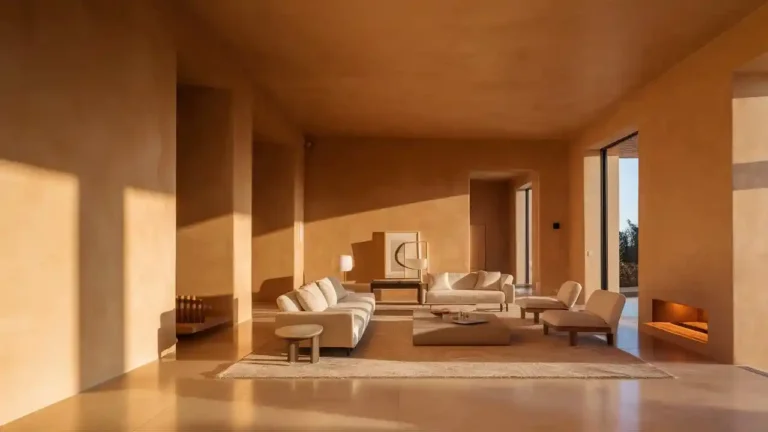
When you want your walls to exude timeless elegance, Venetian plaster walls are the answer. With their soft, marble‑like gleam and subtle depth, these finishes transform ordinary rooms into artful retreats. In this guide, you’ll discover everything you need to know—from the history and materials to step‑by‑step application, cost considerations, and maintenance tips—so you can achieve a stunning, durable finish in your own home.
Table of Contents
1. Introduction
You’ve likely admired those polished plaster walls in upscale homes or chic boutiques and wondered how to get a similar effect at home. Venetian plaster walls fuse old‑world craftsmanship with modern techniques to deliver a finish that’s both luxurious and resilient. In this article, you’ll learn:
- What Venetian plaster is and why it stands out
- The main types and finishes available
- The essential materials and tools you’ll need
- A detailed application process from prep to burnishing
- How to seal and maintain your new plaster walls
- Cost comparisons and inspiration for your next project
By the end, you’ll be equipped to tackle your own Venetian plaster project or make an informed decision if you opt for a professional installation.
2. What Is Venetian Plaster?
2.1 Definition & Origins
Venetian plaster is a fine‑grained lime plaster enhanced with marble dust and natural pigments. Originating in Renaissance Italy, it was prized for its subtle sheen—known as stucco Veneziano—and its ability to mimic polished marble. Unlike standard wall coatings, Venetian plaster walls offer depth and luminosity that shift with your lighting.
2.2 Advantages over Traditional Plaster
You might wonder why choose Venetian plaster over regular drywall or textured paint. Consider these benefits:
- Breathability: Lime‑based plaster allows moisture to escape, reducing mold risk.
- Durability: Properly sealed, it resists scratches and fading.
- Water Resistance: Sealed finishes can handle humid environments like bathrooms.
- Eco‑Friendly: Natural ingredients make it a low‑VOC, sustainable choice.
- Aesthetic Versatility: From smooth to heavily textured, you control the look.
3. Main Types & Finishes
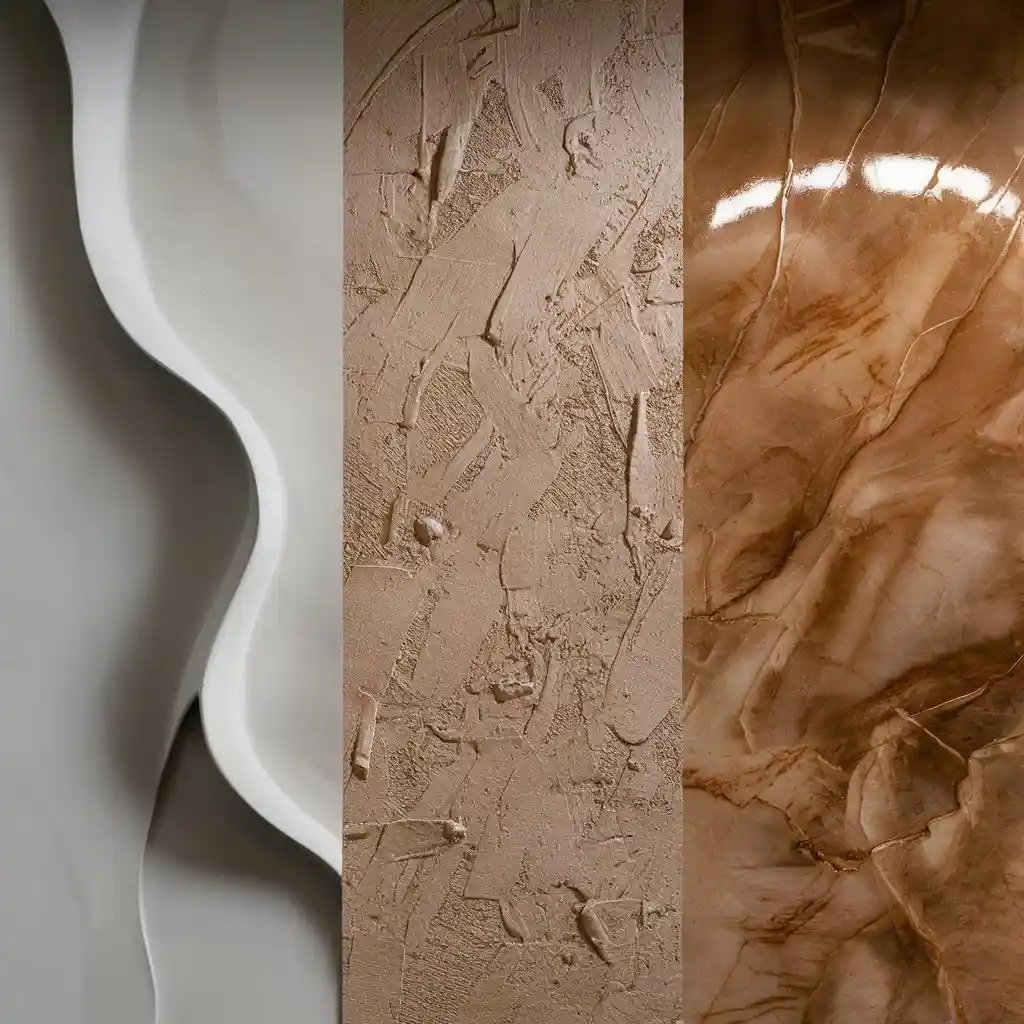
3.1 Smooth vs. Textured Finishes
Depending on your style, you can choose from ultra‑sleek to richly textured. For a minimalist vibe, go with a smooth finish—perfect for contemporary spaces. If you crave character, explore textured finishes that showcase subtle trowel patterns or layered reliefs. Search for “venetian plaster wall texture ideas” to see examples.
3.2 Marble Effect & Polished Finishes
Want that museum‑worthy glow? Polished Venetian plaster, often called polished plaster walls, replicates marble through successive burnishing passes. To achieve the signature marble effect walls, you’ll apply multiple coats, let them partially dry, then use a stainless‑steel trowel to buff the surface. This compresses the plaster and reveals tiny marble dust particles that catch the light.
3.3 Color Options & Pigment Mixing
Venetian plaster is naturally off‑white, but you can introduce pigments for every hue. Popular choices range from soft greys and earthy taupes to deep blues and greens. To customize your palette, master “how to mix pigments with Venetian plaster”: start with a small batch, test on a board, then scale up once you’ve nailed the shade.
4. Essential Materials & Tools
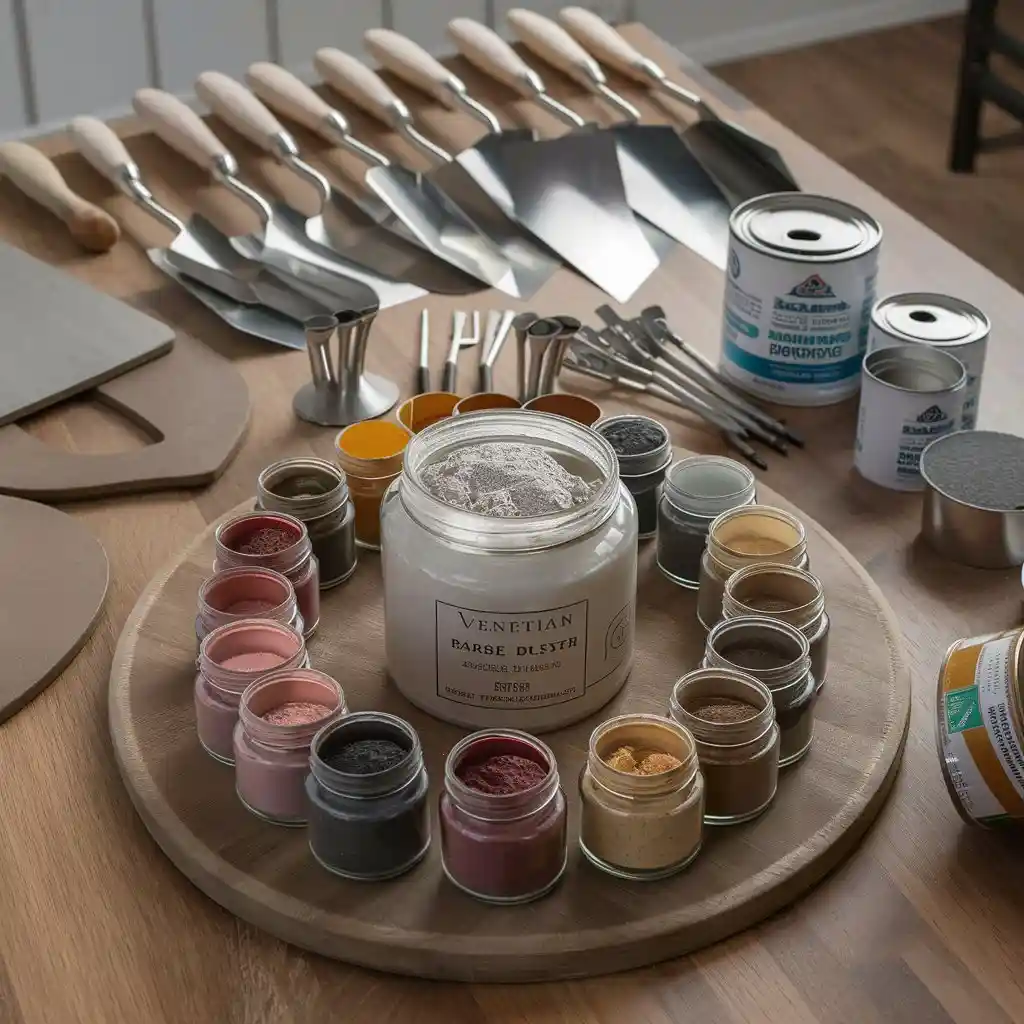
4.1 Material Selection
Your finish depends on quality ingredients. Gather:
- Lime‑Based Venetian Plaster: A breathable base with marble dust.
- Acrylic Venetian Plaster: Adds flexibility—ideal for exterior use.
- Marble Dust Plaster: For extra sheen and durability.
- Natural Pigments: Earth oxides or mineral pigments for rich tones.
If you’re eco‑minded, look for “eco‑friendly Venetian plaster materials” that use sustainably sourced lime and low‑impact pigments.
4.2 Must‑Have Tools
Prepare these basics before you begin:
- Stainless‑Steel Trowels & Spatulas: A wide trowel for broad strokes and a narrow spatula for edges.
- Hawk Board: To hold small plaster batches.
- Sandpaper (Fine Grit): For light sanding between coats.
- Primer: A bonding primer formulated for lime plaster.
- Protective gear should include sturdy gloves, safety goggles, and a dust mask.
For guidance, search “best tools for Venetian plaster wall application.”
5. Step‑by‑Step Application Techniques
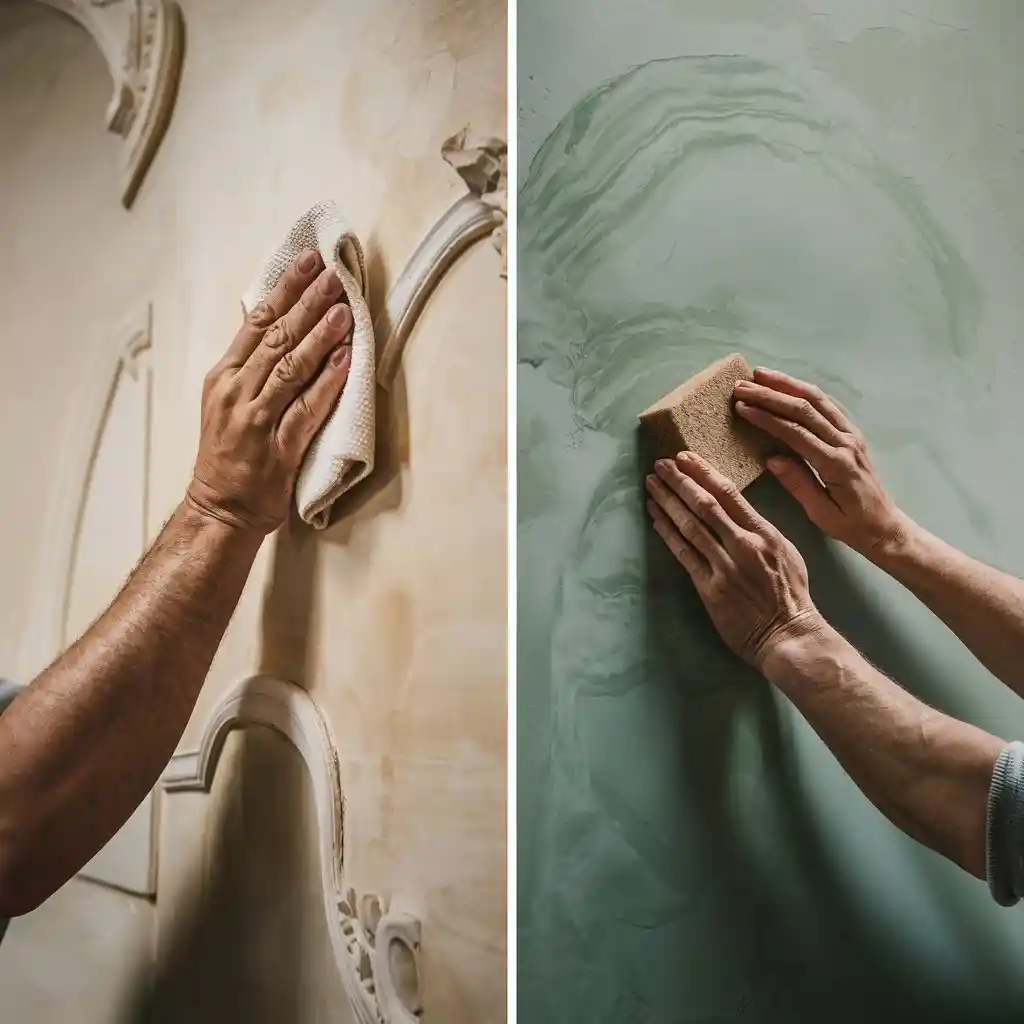
5.1 Surface Preparation
Proper prep determines your success. Your substrate—drywall, plasterboard, or existing plaster—must be clean, dry, and free of loose material. Follow “how to prepare walls before applying Venetian plaster”:
- Clean & Repair: Fill cracks, sand old finishes, and remove dust.
- Prime: Apply a thin, even coat of bonding primer. Let it dry fully.
5.2 Application & Layering
- Mix Plaster: Combine plaster base and pigment per manufacturer’s instructions.
- First Coat (Scratch Coat): Use a small trowel to spread a thin layer (0.5–1 mm). Let it firm up but not fully cure—usually 2–4 hours.
- Second Coat (Base Coat): Apply at a similar thickness, smoothing out trowel marks. Allow it to set for 1–2 hours.
- Third Coat (Finish Coat): Use broad, sweeping strokes to achieve even coverage. Before it dries completely, refine with light trowel passes.
Wondering “how many coats of Venetian plaster are needed?” Optimal finish typically requires three coats for the best depth and durability.
5.3 Burnishing & Final Polish
Once the finish coat is nearly tacky, pull out your stainless‑steel trowel and gently burnish in circular motions. This compresses the surface, revealing the marble effect. If you skip this, you’ll miss out on that luminous polish. For tips, search “how to burnish Venetian plaster walls for a polished finish.”
6. Sealing, Waterproofing & Maintenance
6.1 Sealing & Protection
A sealing coat safeguards your finish. Choose either:
- Wax Sealer: Traditional option for interior walls—adds soft sheen.
- Acrylic Sealer: Creates a harder, water‑resistant barrier—ideal for humid rooms.
Look up “Venetian plaster wall sealing” to compare products and application methods.
6.2 Repairing Cracks
Even well‑installed plaster can develop hairline cracks. To fix:
- Clean the Crack: Remove dust and loose material.
- Filling cracks: apply a thin layer of the same plaster mixture.
- Smooth & Feather: Blend edges with light trowel passes.
For detailed advice, search “how to repair cracks in Venetian plaster walls.”
6.3 Cleaning & Upkeep

Keep your walls looking pristine:
- Dust Regularly: Soft cloth or feather duster.
- Spot Clean: Mild pH‑neutral soap and damp sponge.
- Avoid Abrasives: No harsh chemicals or scrubbing pads.
Following “Venetian plaster wall maintenance and cleaning tips” will prolong the finish and sheen.
7. Cost & Return on Investment
7.1 Cost Estimates: DIY vs. Professional
Your budget depends on materials, room size, and labor. Rough estimates:
| Scope | DIY Cost¹ | Professional Cost² |
|---|---|---|
| Small Room (10 m²) | $150–$300 | $600–$1,200 |
| Medium Room (20 m²) | $300–$600 | $1,200–$2,400 |
| Accent Wall (5 m²) | $75–$150 | $300–$600 |
¹ Materials only. ² Includes labor, surface prep, and sealing.
7.2 Comparison with Other Wall Finishes
- Textured Paint: $50–$100 per 10 m², but lacks marble depth.
- Wood Paneling: $200–$500 per 10 m², more rustic than polished.
- Wallpaper: $30–$100 per 10 m², less durable in wet areas.
While Venetian plaster walls cost more upfront, they elevate your space and can boost property value thanks to their luxury appeal.
8. Use Cases & Inspiration
8.1 Interior vs. Exterior Applications
Although traditionally interior, modern acrylic‑enhanced Venetian plaster works outdoors. Use it on façades or garden walls—just seal properly for weather resistance.
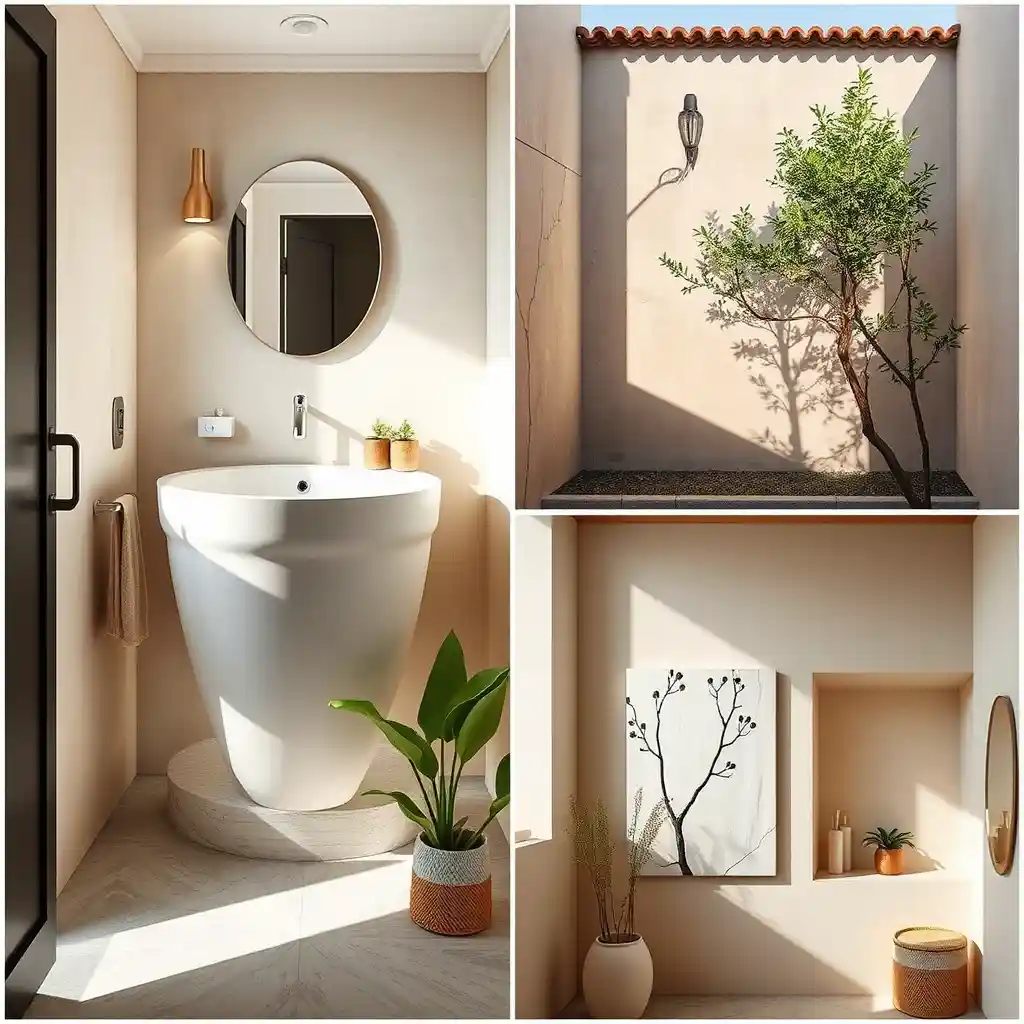
8.2 Bathrooms & Humid Areas
Sealed Venetian plaster walls thrive in bathrooms, saunas, and basements. Its breathability minimizes mold, and water resistance keeps the finish intact.
8.3 Beginner-Friendly DIY Projects
If you’re new to plastering, start small:
- Accent Strips: Apply Venetian plaster to a single wall panel.
- Decorative Niches: Plaster backdrops for shelving or alcoves.
- Sample Boards: Practice finishes on portable boards before committing.
Search “DIY guide to Venetian plaster walls for beginners” to find step‑by‑step tutorials and videos.
9. FAQ (Featured Snippets)
Q1: How do I apply Venetian plaster walls step by step?
A1: Prep with primer, apply three thin coats (scratch, base, finish), then burnish for polish.
Q2: Can I use Venetian plaster on drywall or plasterboard walls?
A2: Absolutely—just be sure the surface is fully primed and completely clean of dust or loose debris.
Q3: How long does Venetian plaster take to dry on walls?
A3: Each coat needs 1–4 hours to firm; full cure takes 7–14 days, depending on humidity.
Q4: What is the difference between Venetian plaster and traditional plaster walls?
A4: Venetian plaster uses marble dust and burnishing for a smooth, glossy finish, while traditional plaster has a matte texture and thicker build.
Q5: What tools do I need for Venetian plaster wall application?
A5: Stainless‑steel trowels, hawk board, fine‑grit sandpaper, bonding primer, and protective gear.
10. Conclusion & Call to Action
You now have a comprehensive roadmap to transform your plain walls into lustrous, high‑end surfaces with Venetian plaster. Whether you decide to roll up your sleeves for a DIY project or hire a skilled artisan, the glowing, marbleized finish you achieve will elevate your home’s style and value.
Ready to give your space the luxury treatment it deserves? Start by ordering sample kits and practicing your first coat on a small board. Then share your progress and results with our community—tag your photos with #MyVenetianPlaster on Instagram for a chance to be featured. Your walls are waiting to shine!