Unleash your creativity and transform your walls with DIY textured wall art! This trend is popular and affordable. It lets you add personality and depth to your living spaces. You can use inexpensive materials like canvases, polyfiller, and paint to create unique art pieces.
Table of Contents
Understanding Textured Wall Art Basics
Textured wall art adds depth and interest to your space. It’s not just flat like regular pictures. Making your own textured art lets you be creative and make a plain wall special.
What Makes Textured Art Unique
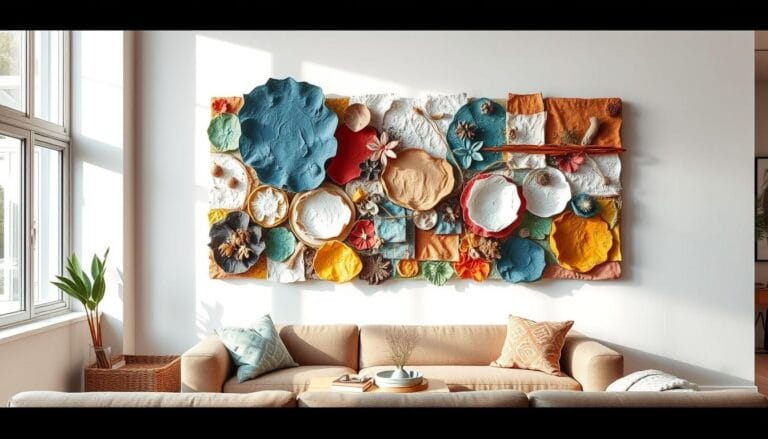
Textured art stands out because it has layers and textures. You can use materials like drywall mud or plaster to make it three-dimensional. This not only looks good but also changes how light hits it.
Benefits of Creating Your Own Wall Art
Making your own textured wall art has many perks. You can pick the design and colors to match your home. It’s also cheaper than buying art, and you can use things you already have. Plus, it’s a fun way to express yourself creatively.
Popular Texture Techniques
There are many ways to make textured wall art. Each method gives a different look. Here are a few favorites:
- Modelling Paste: Great for textured backgrounds, this paste dries white and can be painted over.
- Drywall Mud: This can make smooth or bold textures, depending on how you use it.
- Plaster of Paris: It’s good for detailed patterns and different textures.
Textured wall art can really change a room’s feel. By trying out these techniques, you can make your walls show off your style.
Essential Materials and Tools Needed
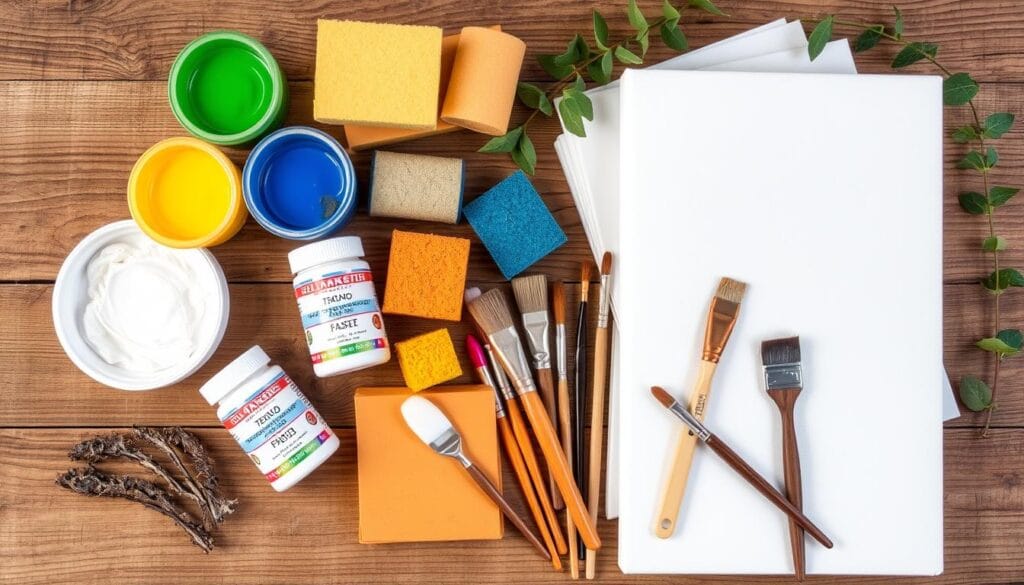
Making your own textured wall art is easy. You just need the right materials and tools. This way, you can turn plain walls into beautiful art. Let’s look at what you need to start your diy art projects and affordable wall art journey.
- Canvas (new or repurposed)
- Putty knife or palette knife
- Drywall compound or polyfiller
- Painter’s tape
- Acrylic or wall paint
- Paintbrushes
- Staple gun and wooden frame (optional)
These basic items make diy art projects and affordable wall art easy on your wallet. You can make unique and personal pieces for your home.
“With just a few affordable materials, you can transform a plain canvas into a work of art that adds character and depth to your space.”
The secret to success is knowing how to prepare the canvas, add textures, and finish with the right paint. By learning these steps, you’ll create amazing textured wall art. It will match your style and decor perfectly.
DIY Textured Wall Art: Step-by-Step Guide
Make your home look amazing with DIY textured wall hangings and textured wall murals. Creating your own textured art is fun and adds depth to your space. Follow this guide to turn plain walls into stunning pieces.
Canvas Preparation Tips
Start by getting your canvas ready. Make sure it’s clean and smooth. If it’s a pre-stretched canvas, prime it with gesso or acrylic medium. For art panels, sand them lightly to help the texture mediums stick better.
Texture Application Methods
- Use a putty knife or palette knife to apply joint compound or plaster of Paris. Try different strokes for unique patterns.
- Add depth with materials like modeling paste, gels, or crumpled tissue paper. Mix and layer them for your look.
- Let the textured layer dry completely before moving on. This can take hours or a full day, depending on how thick it is.
Drying and Curing Process
Be patient during drying and curing. Once dry, sand the surface to smooth it out. This gets your canvas ready for the next steps in your diy wall hangings and textured wall murals project.
| Texture Application | Drying Time | Benefits |
|---|---|---|
| Joint Compound | 6-12 hours | Lightweight, easy to work with |
| Plaster of Paris | 2-4 hours | Dries quickly, creates a more defined texture |
| Modeling Paste | 4-8 hours | Adds flexibility to prevent cracking |
The drying process is key for your textured wall art to last. Take your time to let each layer cure fully. This way, your art will last and beautify your space for years.
Creative Texture Techniques for Beginners
Starting with textured wall art is exciting. You’ll find many ways to make your walls stand out. Try beginner-friendly techniques to create unique pieces.
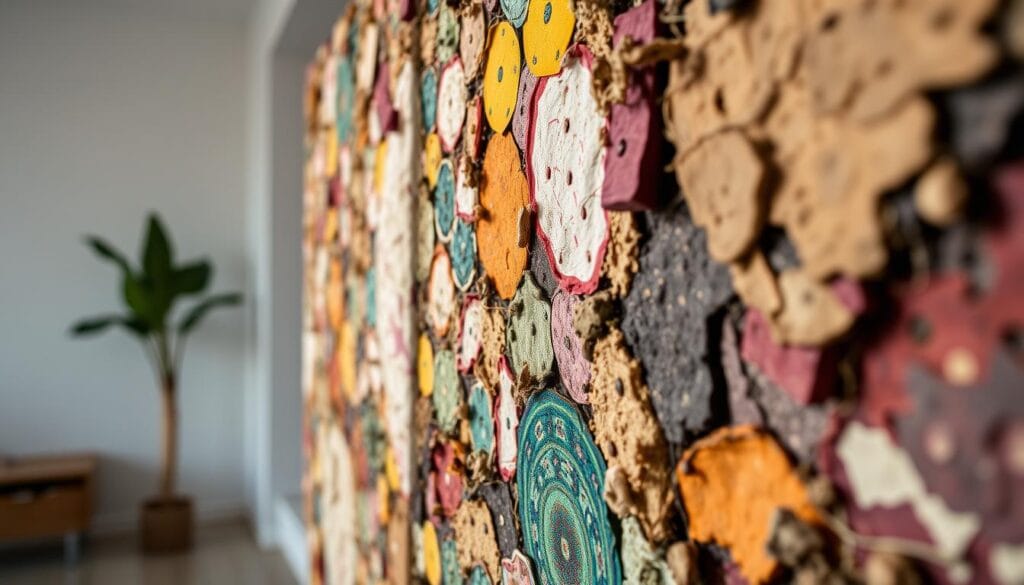
Using a grout spreader is a great way to start. It makes ridged, linear patterns. The tool’s design lets you control the paint or plaster, adding depth to your walls.
For softer textures, try a flexible spatula. It helps you press and shape the medium. This creates organic, three-dimensional effects.
- Grout spreader for ridged appearances
- Spatulas for subtle, sculptural effects
- Sponges for smooth, blended textures
Layering thin coats of filler is another method. Use joint compound or gesso. Try brushing or sponging to get the look you want. Remember, it’s all about having fun and exploring.
“The beauty of textured wall art is that it allows you to express your creativity in a truly tangible way. Don’t be afraid to get your hands dirty and try new techniques – the results can be truly breathtaking.”
With practice and an open mind, you can make your walls unique. Start your textural journey and let your creativity shine.
Choosing the Right Paint and Colors
When making diy textured wall art, picking the right paint and colors is key. Knowing about paint types, finishes, and color mixes can make your home decor pop. It helps you get the look you want for your textured walls.
Color Combinations That Work
Choosing the right color palette is important for your textured wall art. Think about colors that match your home’s style. Neutral colors like whites, grays, and beiges are great because they let the texture shine. But, bold colors can make your space stand out.
- Monochromatic schemes: Try different shades of the same color for a classy look.
- Complementary colors: Mix colors that are opposite each other on the color wheel, like blue and orange, for a bold contrast.
- Analogous colors: Choose colors next to each other on the color wheel, like blues and greens, for a calm, matching palette.
Paint Types and Finishes
The paint you pick can change how your textured wall art looks. Acrylic paints are popular because they come in many colors and are easy to use. Wall paints, like those from Sherwin-Williams, are also good, offering a durable finish.
Try different paint finishes to get the look you want. Matte finishes give a soft, subtle look. Semi-gloss or high-gloss paints make the texture look deeper and shinier.
Mixing Custom Colors
If you can’t find the perfect color, try mixing your own. This way, you can match your home’s colors or create something new. Play with paint samples or leftover paint to find the perfect shade and finish.
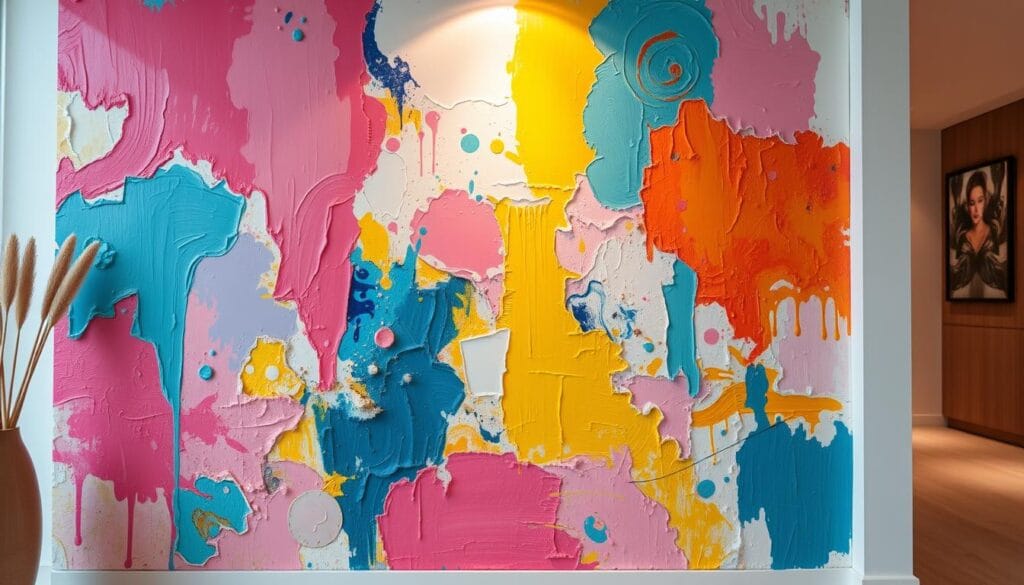
By carefully choosing paint and colors, you can make your diy textured wall art stand out. It becomes a part of your home’s decor. Let your creativity guide you and enjoy the process.
Advanced Texture Patterns and Designs
Take your textured wall art to the next level with advanced techniques. These add depth, dimension, and visual intrigue. You can try faux brush strokes, stenciling, and even use fabric or textured paper. These methods let you create unique pieces that show off your creativity.
Faux brush strokes can make your art feel like it was hand-painted. Stencils help you add precise patterns and designs. Mixing different paint finishes, like matte or high-gloss, creates a stunning light and shadow effect. Adding fabric or textured paper gives your art depth and surprise textures that grab your senses.
Try out these advanced techniques and mix different patterns and layers. This can lead to amazing textured wall panels that make your space stand out. Let your creativity run wild and turn ordinary walls into stunning art.
Plaster Art: Unlocking Endless Possibilities
Plaster, made of lime, sand, and water, has a long history in art and architecture. It’s a versatile material that lets you create textured wall art with amazing results. Each piece is unique, adding a personal touch to any room.
| Plaster Art Technique | Unique Effect |
|---|---|
| Layering and Building Texture | Achieve depth and visual interest with intricate patterns and 3D elements. |
| Incorporating Fabric and Textured Materials | Combine plaster with fabric, paper, or other unconventional materials for a one-of-a-kind look. |
| Experimenting with Color and Finishes | Explore white plaster, beige tones, and minimalist palettes for a range of aesthetic possibilities. |
Plaster art is perfect for making a statement in your living room, bedroom, or dining area. It’s a versatile and captivating way to enhance your space. Dive into the world of textured wall panels and discover endless creative possibilities.
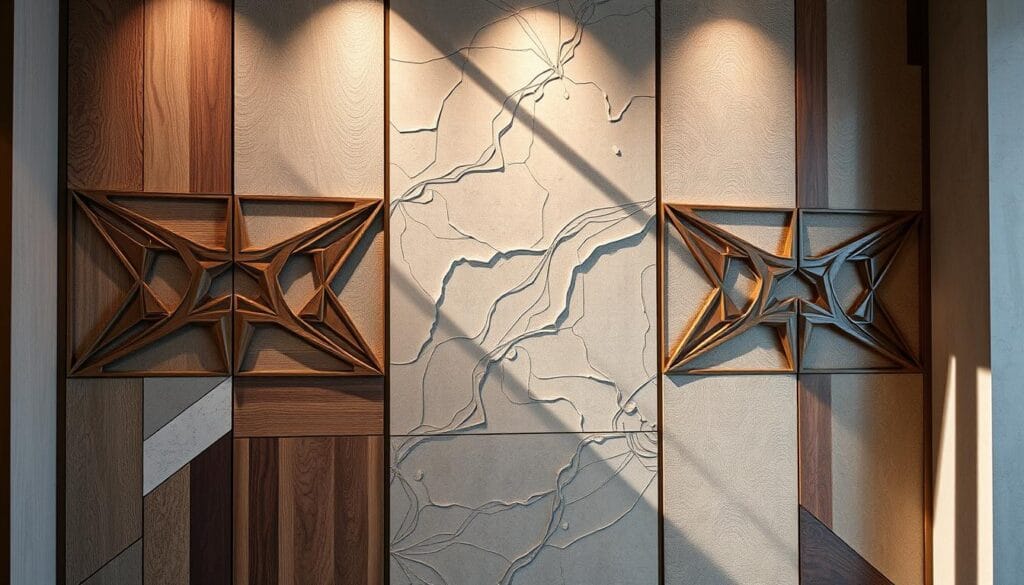
“Texture is a crucial element in interior design, and plaster art adds depth and visual interest to any space.” – Interior Design Expert
Adding Decorative Elements and Embellishments
Make your textured wall art stand out with exciting embellishments. Gold leaf adds a fancy, high-end feel. Mix in mixed media elements like beads or sequins for more depth. For a bold look, add 3D elements that pop out.
Gold Leaf Applications
Gold leaf brings luxury to your wall art. It’s easy to use and makes your piece look fancy. Just apply it where you want to highlight something.
Mixed Media Options
Get creative with mixed media in your wall art. Try beads, sequins, or even old keys. These add texture and make your art unique.
Dimensional Elements
Make your wall art pop with dimensional elements. Use wood, fabric, or objects to add depth. This makes your art a standout in any room.
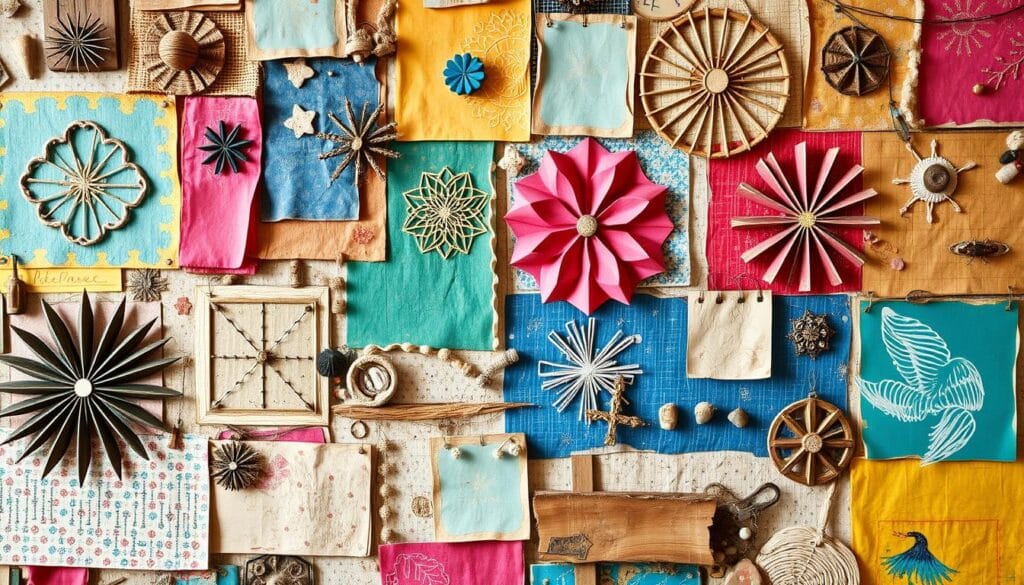
It’s all about balance when adding embellishments. Try different things to find the right mix. This will take your DIY wall art to the next level.
Framing and Display Options
Choosing the right framing and display for your DIY textured wall art can make a big difference. You can pick a custom frame or go for a canvas without one. Each option has its own way to make your art stand out.
Custom Framing for Textured Art
For a polished look, think about making your own frames. Use wooden pieces and a staple gun to create frames that fit your art perfectly. Try different woods like scrap, old pallets, or reclaimed barn wood for a unique look.
Unframed Canvas Displays
Going without a frame can give your canvas a modern, gallery feel. This simple style lets the texture of the art be the main focus. You can hang it in many ways, like diy wall hangings or directly on the wall, to show off your art.
Choosing the Right Frame Size
When framing, choose a size that’s 25% to 100% bigger than your canvas. This makes the frame look good and draws attention to your art. For smaller pieces, try placing them in a bigger frame for a cool effect.
It’s all about finding a framing method that fits your space and highlights your art’s texture. By trying different styles, you can make a beautiful and affordable wall art display that shows off your personal taste.
| Framing and Display Options | Considerations |
|---|---|
| Custom Framing |
|
| Unframed Canvas Displays |
|
| Frame Size Considerations |
|
Budget-Friendly Tips and Alternatives
Creating stunning textured wall art doesn’t have to be expensive. With a bit of creativity and smart shopping, you can make beautiful DIY pieces on a budget. Whether you want to decorate your home or make gifts, these tips will help you achieve your desired look without spending too much.
Cost-Saving Material Options
One way to save money is to use cost-effective materials. Instead of pricey canvases, try using old frames or upcycled items like wooden doors or old window panes. You can also use cheap bases like cardboard, plywood, or foam core boards.
For texturing, look into alternatives like joint compound, homemade paste, or even household items like sponges or crumpled paper. These options can add interesting textures without the high cost.
Upcycling Ideas
- Transform old canvases by adding new layers of texture and paint
- Repurpose discarded furniture, like doors or window frames, as art bases
- Upcycle thrifted items like trays, platters, or baskets to create unique wall hangings
- Use leftover fabrics, ribbons, or even yarn to add interesting textural elements
- Incorporate found objects, such as seashells, buttons, or hardware, to add depth and character
Upcycling lets you give new life to ordinary items, making unique and affordable wall art. The key is to be creative and think differently about materials and supplies.
The beauty of DIY art projects is in the journey, not just the end result. Enjoy the process, try new techniques, and have fun making your own textured wall art. You can do it all without spending a lot of money.
Troubleshooting Common Issues
Starting your DIY textured wall art project can come with some challenges. But, with a bit of troubleshooting, you can get past these hurdles and achieve a beautiful textured finish.
If you see cracks in thick texture layers, use a flexible filler. Or, build up the texture in thin, even layers to avoid cracks. If the paint isn’t sticking well, try applying a base coat of white paint first. This helps the topcoat stick better.
Uneven textures can be fixed by lightly sanding or adding more layers. This makes the surface smooth and even. Remember, creating great textured wall art takes patience and a willingness to try different techniques until you find what works.
FAQ
What makes DIY textured wall art unique?
DIY textured wall art is special because it shows off your personal style. Each piece is unique because of the way you make it.
What are the benefits of creating your own textured wall art?
Making your own textured wall art lets you customize it and save money. It’s a fun project that can make your space look better.
What are some popular techniques for creating textured wall art?
You can use drywall mud, polyfiller, or plaster to make different textures. Try different tools and ways to apply them for unique looks.
What materials and tools are needed for DIY textured wall art?
You’ll need canvas, a putty knife or palette knife, and drywall compound or polyfiller. Also, painter’s tape, paint, and brushes are essential. You might also use a staple gun and a wooden frame. These items are easy to find and won’t break the bank.
How do I prepare the canvas for textured wall art?
First, get your canvas ready. Then, use a putty knife or palette knife to add texture. Try different strokes for different looks. Let it dry before painting.
What are some creative texture techniques for beginners?
Beginners can use a grout spreader for a ridged look, spatulas for subtle textures, or sponges for smooth ones. Layering thin coats of filler can add depth without cracking.
How do I choose the right paint and colors for my textured wall art?
Pick paint colors that match your home’s style. Acrylic and wall paints work well. Use tester pots or leftover paint for small projects. Try different colors and finishes to get the look you want.
What are some advanced techniques for textured wall art?
For more complex art, try faux brush strokes, stencils, or adding fabric or textured paper. Playing with patterns and layers can make your art stand out.
How can I enhance my textured wall art with decorative elements?
Add embellishments like gold leaf, beads, sequins, or found objects. You can also use dimensional elements to make your art more three-dimensional.
What are some budget-friendly tips for DIY textured wall art?
Save money by using leftover paint or tester pots. Upcycle old canvases or use other materials. Thrift stores and discount art shops have affordable options.
How do I troubleshoot common issues with textured wall art?
For cracks in thick layers, use flexible filler or thin layers. If paint doesn’t stick, apply a white base coat first. Sand uneven textures or add more layers for the right look.

I really like your post. Thanks for sharing this with us.
Excellent post! Very insightful and well-written. Thanks for sharing this valuable information!