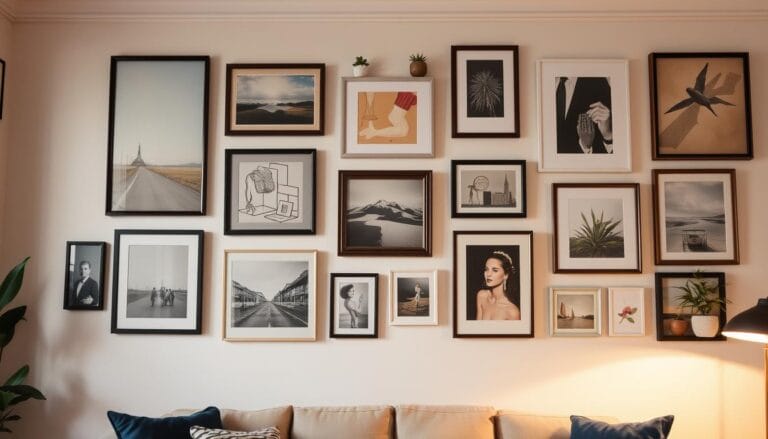
Standing in my living room, I felt excited and eager. The blank wall was a chance to create something special. I wanted to make a gallery wall that showed my love for art and my life’s story.
Gallery walls can make a space lively and warm. I was determined to make it perfect.
Creating a gallery wall can be thrilling and a bit scary. There are many choices to make, from picking the right art to arranging it. But don’t worry, I’m here to help. I’ll share the tips I’ve learned.
Table of Contents
Understanding Gallery Wall Fundamentals
Gallery walls are a fun way to show off your style and interests at home. They mix artwork, photos, and special items to reflect your unique taste. Whether you like matching frames or a mix of styles, gallery walls can make any blank wall interesting.
What Makes a Gallery Wall Special
A good gallery wall lets you share your life, passions, and travels. It’s a way to express yourself through a mix of frames and sizes. This makes your space more lively and personal.
Different Types of Gallery Wall Styles
- Traditional: Featuring a cohesive collection of matching frames in a symmetrical layout.
- Eclectic: A mix-and-match approach, blending frames, mediums, and sizes for a unique, personal touch.
- Themed: Focusing on a specific theme or color palette to create a cohesive and intentional display.
Basic Design Principles to Consider
When making a gallery wall, follow some key design rules. Start with a main piece to anchor the wall. Then, think about size, spacing, and alignment for a balanced look. Frames should be 2 to 4 inches apart to show each piece well.
“A well-arranged gallery wall serves as a captivating focal point in a room, drawing attention and setting the tone for the entire space.”
Planning Your Wall Space and Layout
Creating the perfect wall gallery layout begins with careful planning. Before you start hanging your artwork, measure the wall space and plan the layout. This careful approach helps create a cohesive and striking art wall design.
Use painter’s tape to sketch out a layout on the floor or a table. This lets you try different arrangements and see how they look. Think about using the wall from floor to ceiling for a bold look. Mix large and small pieces both up and down the wall.
To plan more precisely, use tools like Adobe Illustrator. This software helps you scale and map out the layout. It makes it easy to move pieces around until you’re happy with the arrangement.
- Measure the wall space to figure out what you can use.
- Use painter’s tape to make a mock layout on the floor or table.
- Place artwork both up and down for balance.
- Use design software to scale and plan the exact placement.
“Careful planning is the key to creating a captivating wall gallery layout that showcases your art collection to perfection.”
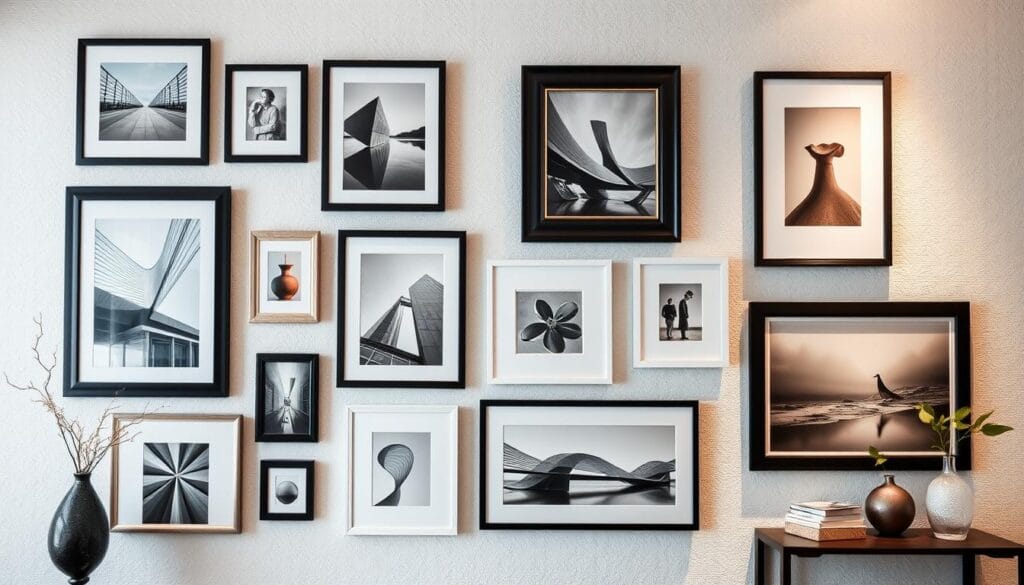
By planning your wall space and layout, you’re on your way to a stunning art wall. It will show off your style and make your living space look better.
How to Arrange Wall Art: Essential Steps
Arranging wall art is like a puzzle, needing balance, scale, and proportion. Whether it’s a gallery wall or a single piece, these steps will help you arrange it perfectly.
Measuring and Spacing Guidelines
First, figure out the best height for your art. Hang it about 57 inches from the floor, at eye level. Space each piece 3-6 inches apart for a nice gap. Use a laser level and tape measure for exact placement.
Creating Visual Balance
Start with the biggest piece in the middle. Add smaller and larger frames to keep it interesting. Mix horizontal and vertical pieces for a unique look. Keep trying until it feels right to you.
Working with Different Wall Sizes
Adjust your art to fit the wall size. On big walls, group frames together. On small walls, keep it simple. Make sure the art size matches the room and furniture.
Follow these steps to create a beautiful wall art display. It will show off your style and make your space look great.
Choosing the Right Artwork Combination
Creating a stunning wall art collection takes thought and care. Start by mixing pieces from thrift stores, flea markets, and even dollar stores. Add personal touches like family photos, vintage art, or items passed down through generations. Try using natural elements like dried flowers or feathers, and unique items like vintage cameras or decorative plates.
When picking your art, look for a loose theme or similar mediums. This makes your wall art grouping look good together. Feel free to use different frame sizes, from small to large, to add depth and interest to your curating a wall art collection.
Here are some tips for the perfect artwork mix:
- Mix different art types, like paintings, prints, and photos, for variety.
- Use a variety of frame materials and finishes, like wood, metal, and antique styles.
- Balance your display with both big and small pieces, and vertical and horizontal art.
- Keep a consistent color scheme, but add contrasting colors for interest.
- Try out different ways to group your art, like symmetrical, asymmetrical, or clustered displays.
By following these tips, you can create a wall art collection that shows off your style. It will also make your living space look amazing and harmonious.
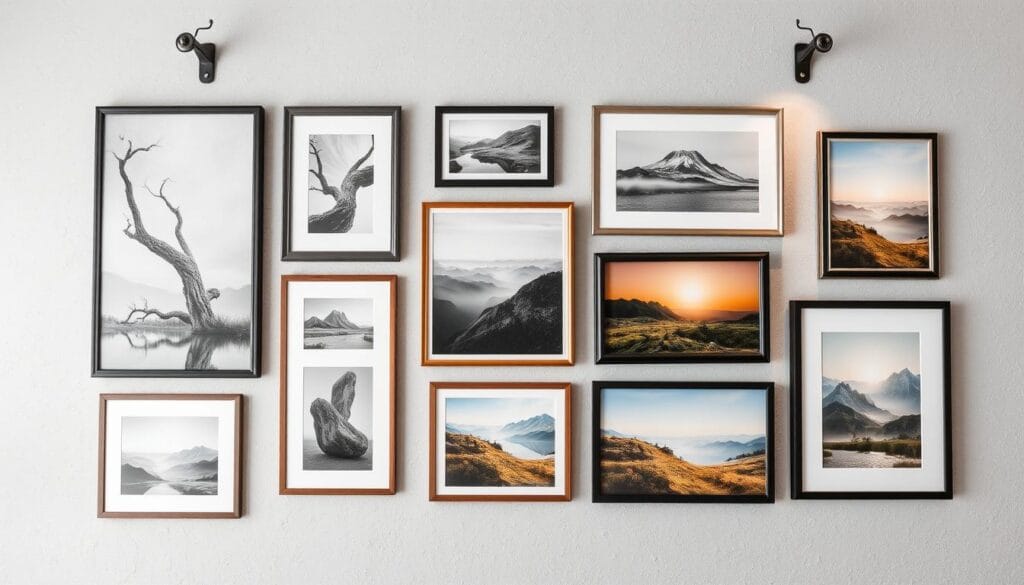
Frame Selection and Mixing Techniques
Choosing the right frames is key for wall art. Mix different materials like wood, metal, or plastic for depth. Stick to two contrasting finishes or frames in the same color family for consistency.
Frame Materials and Finishes
White mats create a cohesive look. Look for frames in black, brass, or warm champagne tones. High-quality frames for large pieces protect your art and add sophistication.
Color Coordination Tips
Frame designs should complement your art. Simple black frames suit abstract art, while ornate frames enhance vintage prints. Mixing styles and colors makes your gallery wall engaging.
Size and Style Variations
Balance your wall art with different sizes and styles. Mix photographs, lithographs, mixed media, sculptures, and watercolor paintings. This adds depth and interest to your gallery wall.
Frames should match the artwork and maintain a consistent style. By mixing frames, you create a harmonious gallery wall that shows your personal style.
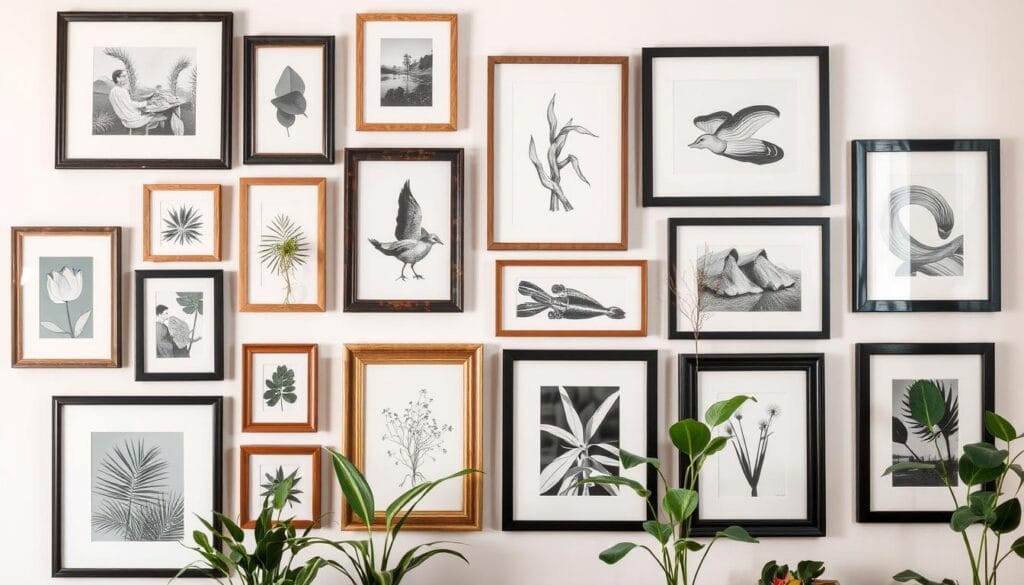
| Frame Material | Benefits | Recommended Uses |
|---|---|---|
| Wood | Adds warmth and natural charm | Rustic, traditional, or farmhouse-style decor |
| Metal | Offers a modern and sleek look | Contemporary or industrial-inspired spaces |
| Plastic | Affordable and versatile | Budget-friendly and suitable for a variety of styles |
“Mixing different art forms and frame styles can create a visually engaging and dynamic gallery wall.”
Creating a Cohesive Color Palette
Making a gallery wall look good is more than just hanging pictures. It’s about picking a color scheme that ties everything together. You can go for one color or mix different ones. The goal is to pick a color that fits well with the room’s look.
Begin by looking at your room’s colors. Are the walls light or dark? Do you have wood or metal accents? Use these colors to pick your artwork. A simple color scheme with a few bright colors can look calm and balanced. Or, bold colors can make your wall stand out.
Look closely at each piece of artwork’s colors. Try to use similar colors, like different shades of blue or earthy tones. You can also add extra colors with small items like vases or frames.
- Stick to a specific color scheme, such as monochromatic, analogous, or complementary tones.
- Consider the existing color palette in the room and choose artwork that enhances or complements it.
- Incorporate accent colors through smaller decorative pieces to tie the whole display together.
- Use a color wheel to identify harmonious color combinations that will create a visually striking gallery wall.
By picking the right colors for your wall art, you’ll make a beautiful display. It will fit perfectly with your wall art placement and decorating with wall art in your space.
| Room Type | Recommended Wall Art Color Palette |
|---|---|
| Bedroom | Soft, calming colors like blues, greens, and neutrals |
| Dining Room | Bold, vibrant hues that stimulate the senses |
| Bathroom | Smaller, charming frames with nature-inspired or minimalist designs |
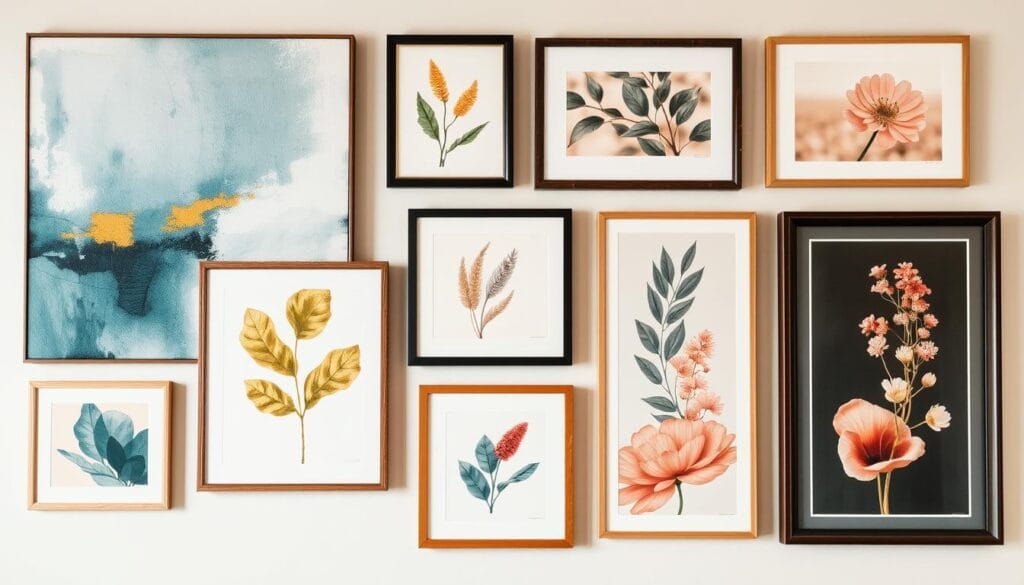
“Curating a cohesive color palette is the key to creating a visually harmonious gallery wall that truly reflects your personal style and complements your living space.”
Incorporating Different Art Mediums
When you’re putting together a wall art collection, think about using a variety of art types. Mix photos, paintings, prints, and three-dimensional objects to make your gallery wall stand out. This mix adds depth and interest.
Mixing Photos with Artwork
Combining personal photos with professional art adds a special touch to your gallery wall. Use family photos, travel memories, or kids’ artwork alongside paintings and prints. This blend tells your story and shows your unique style.
Adding Dimensional Elements
Include three-dimensional pieces like ceramics, small sculptures, or textured art to add depth. These objects can be the main attraction or add a pop of interest. They make your wall more dynamic and engaging.
Including Personal Items
It’s okay to add personal items like travel souvenirs, meaningful objects, or cherished mementos to your gallery wall. These items bring your space to life with your personality. They make your wall art collection truly yours.
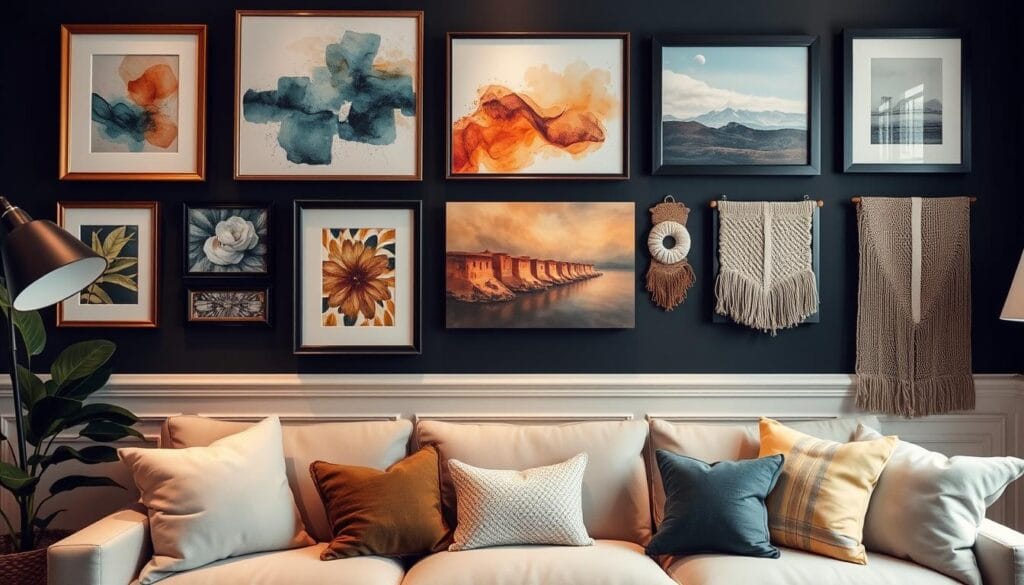
By using different art mediums, you can create a wall art collection that’s both captivating and personal. Feel free to experiment and let your creativity show in your gallery wall design.
Professional Hanging Methods and Tools
Arranging your wall art right is key for a polished look. Start by picking the right picture hooks for your artwork’s size and weight. Adhesive hooks are a good choice for lighter pieces, as they don’t damage walls.
For a more elegant display, look into gallery wall systems with tracks or rails. These make it easy to change your display and keep it looking smooth.
To hang your art correctly, you’ll need some tools. A laser level, tape measure, hammer, and ladder are essential. They help you measure, mark, and hang your art safely. Also, use sticky tack to keep your frames steady and prevent them from moving.
Using these professional methods and tools can make your gallery wall look amazing. It shows off your artwork beautifully. Remember, the right tools and attention to detail are crucial for a perfect display.
FAQ
What makes a gallery wall special?
Gallery walls are special because they show off your personal style and interests in a creative way. They let you display meaningful items in your home.
What are the different styles of gallery walls?
There are several styles of gallery walls. You can choose from traditional frames, a mix-and-match look, or themed collections.
What are the basic design principles to consider for a gallery wall?
When designing a gallery wall, focus on balance and proportion. Also, pick a focal point to draw the eye.
How should I plan the layout and arrangement of my gallery wall?
Start by measuring your wall and planning the layout. Use painter’s tape to mark the spots on the floor or table. For a bold look, cover the entire wall from floor to ceiling.
How should I space the artwork on my gallery wall?
Space your artwork about 3 inches apart. Place the largest piece in the center and arrange the rest around it. Keep the same amount of blank space between each frame.
What types of artwork should I include in my gallery wall?
Include a variety of art pieces from different places like thrift stores and flea markets. Add personal touches like family photos and vintage art from your travels.
How should I choose and mix the frames for my gallery wall?
Mix frames made of wood, metal, or plastic. Stick to two finishes or frames in the same color family. Use white mats for a consistent look.
How do I create a cohesive color palette for my gallery wall?
Pick a color palette that matches the room and ties the wall together. Choose artworks in similar colors or use accent pieces to connect them.
Can I incorporate different art mediums into my gallery wall?
Yes, you can mix different art mediums like photos, paintings, and prints. Adding personal photos with professional artwork makes it unique.
What tools and techniques should I use to properly hang my gallery wall?
Use the right size picture hooks for your artwork. Adhesive hooks are good for lighter pieces and won’t damage the wall. Consider using gallery wall systems for a professional look and easy changes.

