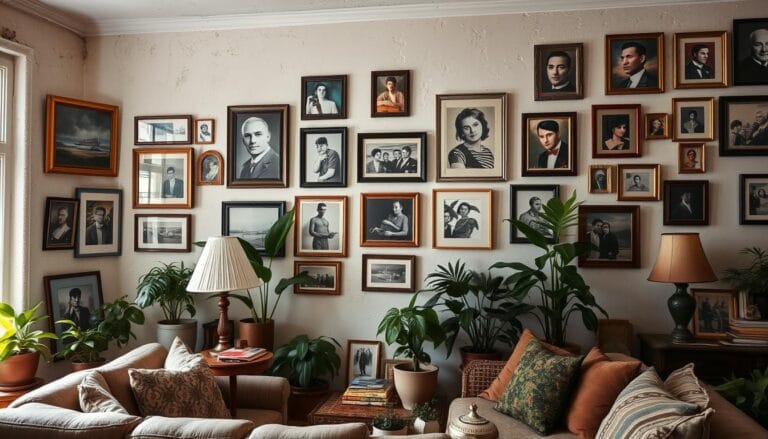
Decorating your home with artwork and photos is fun. But, hanging them on plaster walls needs extra care. This DIY guide will show you how to hang pictures safely on plaster walls. You’ll learn how to keep your walls looking great while showing off your favorite pieces.
Plaster walls are different from drywall and need special techniques and tools. This guide is for both seasoned DIYers and beginners. It will help you turn your home into a beautiful gallery that reflects your style.
Table of Contents
Understanding Plaster Walls and Their Unique Properties
When you want to hang artwork or mirrors on plaster walls, knowing its properties is key. Plaster walls are denser and more brittle than drywall. This means you need special methods to hang things safely without damaging the wall.
Differences Between Plaster and Drywall
Plaster walls are stronger and better at blocking sound than drywall. They weigh about three times as much. This makes plaster great for soundproofing but also means you can’t use just any wall anchor for heavy items. Drywall, being lighter, is easier to work with and hang objects securely.
Why Special Hanging Techniques Matter
Plaster is very brittle, so wrong hanging methods can cause it to crumble or crack. Using the wrong tools or too much force can break the plaster’s bond with the lath. It’s vital to know how to hang things properly to avoid damage and ensure your art stays up for a long time.
Common Challenges with Plaster Walls
One big problem with plaster walls is that they can lose their bond with the lath. This happens if you hang things wrong or drill too hard. Also, plaster walls can crack or crumble over time. It’s important to check the wall and use the right methods to avoid more damage.
To hang things safely on plaster walls, you need to learn the right techniques and tools. Next, we’ll look at the essential tools and materials you’ll need for the job.
Essential Tools and Materials for Picture Hanging
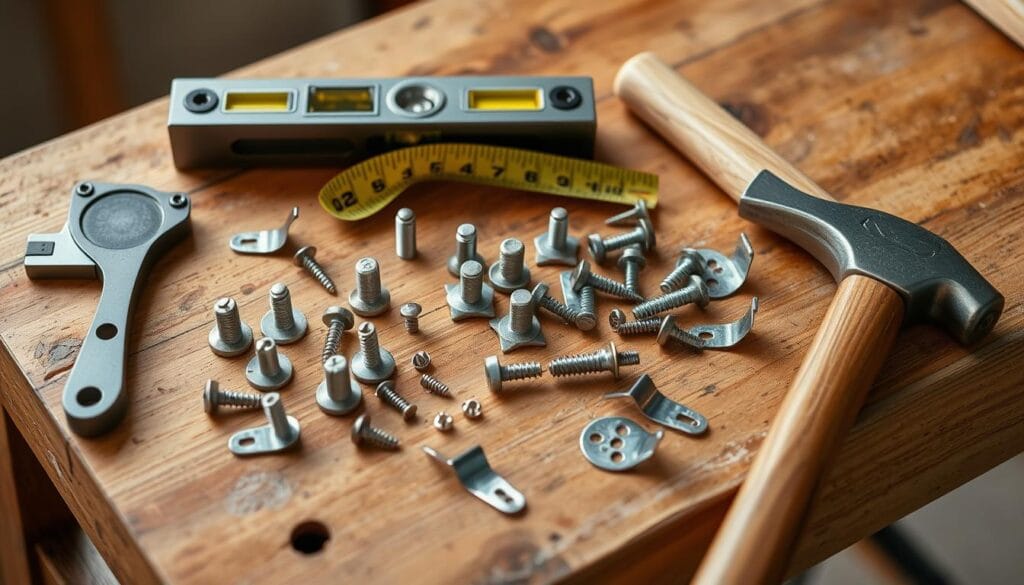
When hanging pictures on plaster walls, the right tools and materials are key. You’ll need a drill and screwdriver for basic tasks. Specialized items like wall anchors and picture wire are also important for secure installation.
You’ll start with a drill and the right drill bits for pilot holes. Use painter’s tape to mark spots. Wall anchors and screws support your frames. Don’t forget a screwdriver, hammer, pencil, and tape measure.
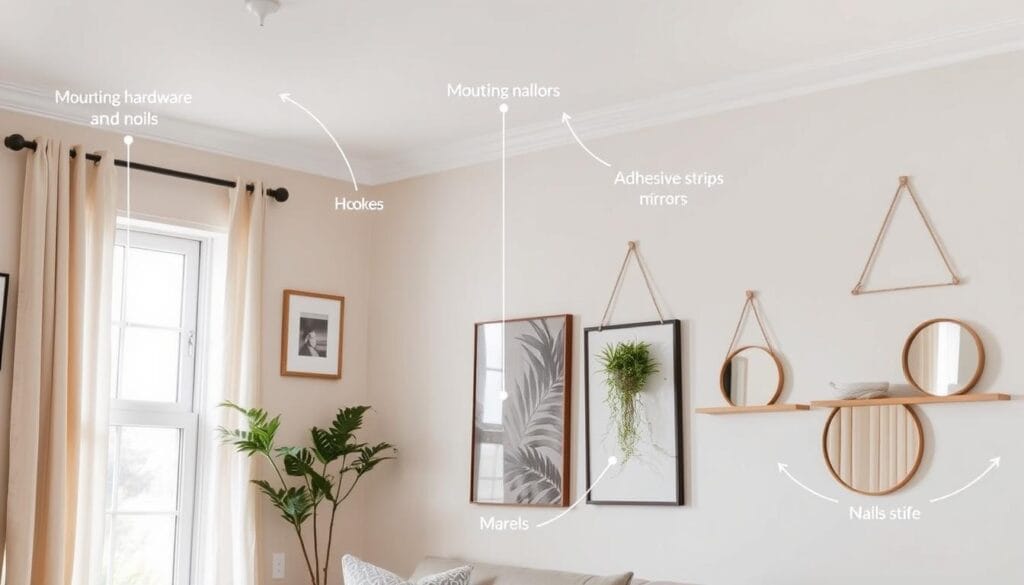
For light frames, adhesive picture hooks or strong double-sided tape work well. But, for heavy frames, you need picture hanging hardware. This includes wire, D-rings, or screw eyes for a secure hang.
Before hanging, clean your walls with warm water, dish soap, and non-abrasive washcloths. This removes dirt and prepares the surface.
| Tool/Material | Purpose |
|---|---|
| Drill | Creating pilot holes in plaster walls |
| Drill Bits | Matching drill bit size to wall anchors and screws |
| Painter’s Tape | Marking hanging locations on walls |
| Wall Anchors and Screws | Providing sturdy support for picture frames |
| Screwdriver | Securing wall anchors and screws |
| Hammer | Assisting with installation of some wall anchors |
| Pencil | Marking and measuring wall locations |
| Tape Measure | Accurately measuring and marking hanging positions |
| Adhesive Picture Hooks | Hanging lightweight pictures |
| Double-Sided Tape | Securing lightweight pictures to walls |
| Picture Hanging Hardware | Supporting heavier picture frames |
| Warm Water, Dish Soap, Non-Abrasive Washcloths | Cleaning and preparing wall surfaces |
With the right picture hanging hardware and tools, you can create a beautiful display. Your plaster walls will be ready for secure and damage-free artwork.
Preparing Your Walls and Pictures for Installation
Before hanging your pictures, it’s key to prepare your walls and pictures. This guide will help you do it right.
Wall Surface Preparation Steps
Clean and dry the wall where you’ll hang your pictures. This ensures the hardware sticks well. Use a damp cloth to remove dust and dirt from the plaster.
Weight Assessment Guidelines
Check your pictures’ weight carefully. Light ones, up to 5 lbs, can use plaster picture hangers, concrete wall hooks, or steel concrete picture hangers. For heavier items, masonry screws are better for a strong hold.
Measuring and Marking Techniques
- Measure where you want to hang your picture.
- Mark it with a pencil and cover with painter’s tape. This helps with drilling.
- Picture centers should be about 57 inches from the floor. Adjust for your taste and room layout.
Follow these steps for a successful and safe picture hanging on plaster walls.
| Hardware Type | Weight Capacity |
|---|---|
| Plaster Picture Hangers | Up to 30 lbs |
| Concrete Wall Hooks | Up to 30 lbs |
| Steel Concrete Picture Hangers | Up to 30 lbs |
| Masonry Screws | For heavier items |
How to Hang Pictures on Plaster Walls
Hanging pictures on plaster walls needs extra care. Plaster is delicate and can crack or crumble easily. But, with the right tools and techniques, you can hang your artwork safely.
Drill and Anchor for Medium to Heavy Pictures
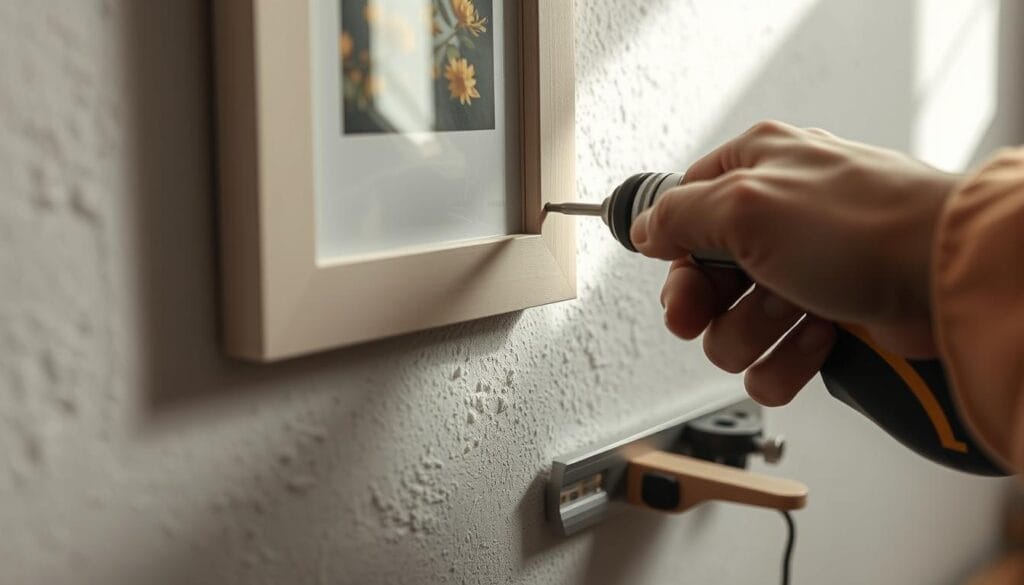
For bigger pictures, you’ll need to drill a hole and use an anchor. First, measure and mark where you want the picture. Use a drill bit that fits your anchor, and drill carefully into the plaster.
Tap the anchor into the hole until it’s even with the wall. Then, screw the picture hanger or wire into the anchor, leaving a bit of screw out. Clean the area and hang your picture.
Adhesive Hangers for Lightweight Items
For light items, like small prints, use adhesive hangers. Clean the wall well to help the adhesive stick. Let the wall dry before applying the hanger, following the instructions.
This method is great for places where you can’t drill into walls. It’s perfect for apartments or rental homes.
When hanging pictures on plaster walls, think about the item’s weight. Use the right hardware to avoid damaging the wall. Take your time, measure well, and follow the steps for a secure and neat installation.
| Mounting Method | Weight Capacity |
|---|---|
| Plaster Picture Hangers | Up to 30 lbs |
| Concrete Wall Hooks | Up to 30 lbs |
| Steel Concrete Picture Hangers | Up to 30 lbs |
| Masonry Screws | For heavier items |
The standard picture height is 57 inches from the floor. But, you can adjust it based on room size and taste. The 60-inch rule is also used for art and photos.
“When hanging large pictures, positioning the bottom of the frame six-to-12 inches above the furniture is recommended.”
Using Picture Rails and Molding Systems
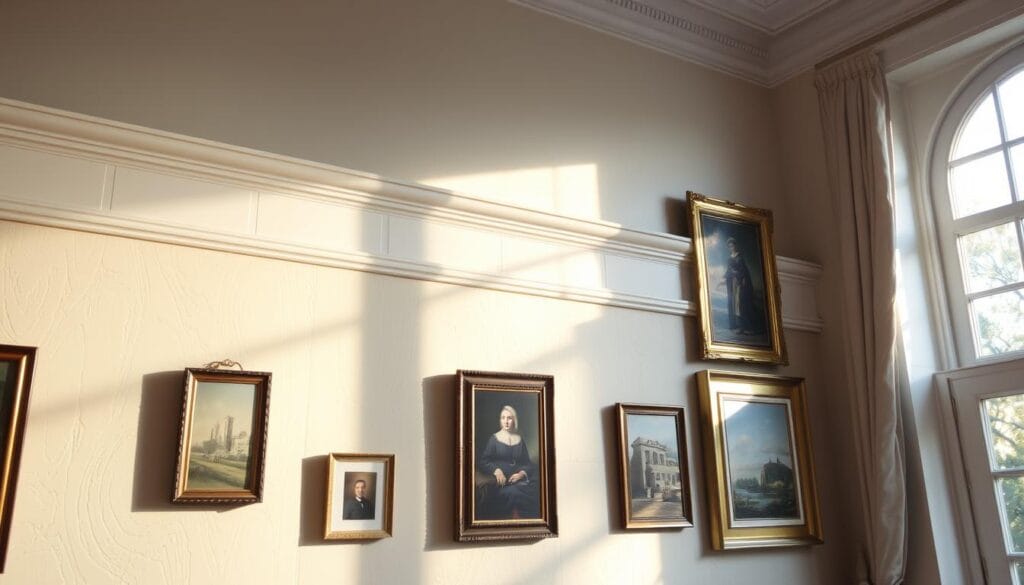
Picture rails are great for hanging artwork on plaster walls. They’ve been around since the 15th century. Originally used for heavy textiles, they’re now popular in Georgian, Victorian, and Edwardian homes.
They’re usually placed around the room’s edge, 6-12 inches from the ceiling. This spot is perfect for showing off your artwork.
Installation Process for Picture Rails
Installing picture rails is easy. First, decide on the height, usually 6-12 inches below the ceiling. Mark the wall to make sure the rails are straight.
Then, attach them securely. When joining sections, cut them at a 45-degree angle. This ensures a smooth fit at corners.
Weight Distribution Considerations
Picture rails are great for supporting heavy frames. They spread the weight evenly, keeping your plaster walls safe. This makes them perfect for picture frame installation and heavy frame support.
Aesthetic Benefits of Rail Systems
Picture rails and molding systems also boost your room’s look. They were once as common as skirting boards in British homes. They add a timeless elegance.
Although they fell out of favor in the 1970s, they’re back in style. They fit many decor styles, from traditional to modern.
You can find picture rails in various materials like wood, MDF, metal, brass, and even plastic/PVC. They offer a stylish and flexible way to display your artwork on plaster walls.
Adhesive Solutions for Lightweight Artwork
Adhesive solutions are great for hanging pictures on delicate plaster walls. For artworks weighing 5 lbs (2.25 kg) or less, reversible adhesive hooks are perfect. They are safe and won’t damage your plaster walls.
Before using the adhesive, clean the wall well. This ensures the adhesive sticks properly. Then, pick the right adhesive hook for your artwork’s weight. There are many types to choose from.
- For small, lightweight art frames, a single adhesive strip may be sufficient.
- For larger or heavier picture frames, it’s recommended to use at least three adhesive strips to ensure secure and level hanging.
- Aim to place the center of your artwork approximately 57 inches (145 cm) from the floor for an aesthetically pleasing arrangement.
These adhesive solutions work best on smooth or lightly textured walls. If your walls are more textured, test the adhesive first. This is to avoid any issues.
“I’ve been using this adhesive hanging technique for over 17 years, and it’s consistently provided damage-free, secure wall hangings for my artwork.”
These adhesive systems are great because they can be removed easily. When you want to change your artwork’s spot, just take off the strips. You can reuse the Velcro part and buy new strips as needed. This method keeps your walls safe and lets you try out different layouts without harm.
With the right adhesive solutions, you can enjoy your artwork without harming your walls. By following these tips, you can decorate your space safely. And keep your artwork securely in place for a long time.
Heavy-Duty Mounting Techniques and Hardware
When hanging heavy items like large paintings, mirrors, or shelves on plaster walls, you need special tools. Molly bolts are great for this because they hold well without damaging the plaster.
Working with Molly Bolts
Molly bolts are special anchors that grip plaster well. First, drill a hole that’s a bit smaller than the bolt. Then, put in the molly bolt and tighten it. This makes a strong hold for heavy items.
Proper Anchor Selection
Choosing the right anchor is key for plaster walls. Look at the weight of your item and the plaster’s thickness. Check the manufacturer’s advice to pick the best anchor for your walls.
Load-Bearing Considerations
Before mounting, know the weight of your items. Add 25-50% to the weight to be safe. This ensures your walls can handle the load without damage.
| Anchor Type | Weight Capacity | Suitable for Plaster Walls |
|---|---|---|
| Molly Bolts | 10-50 lbs | Yes |
| Toggle Bolts | 25-50 lbs | Yes |
| Screw-in Anchors | Up to 25 lbs | Yes |
| Expanding Plastic Sleeves | Up to 25 lbs | Yes |
Knowing how plaster walls work and using the right tools lets you hang heavy frame support and plaster wall mounting items safely.
Preventing Wall Damage and Common Mistakes
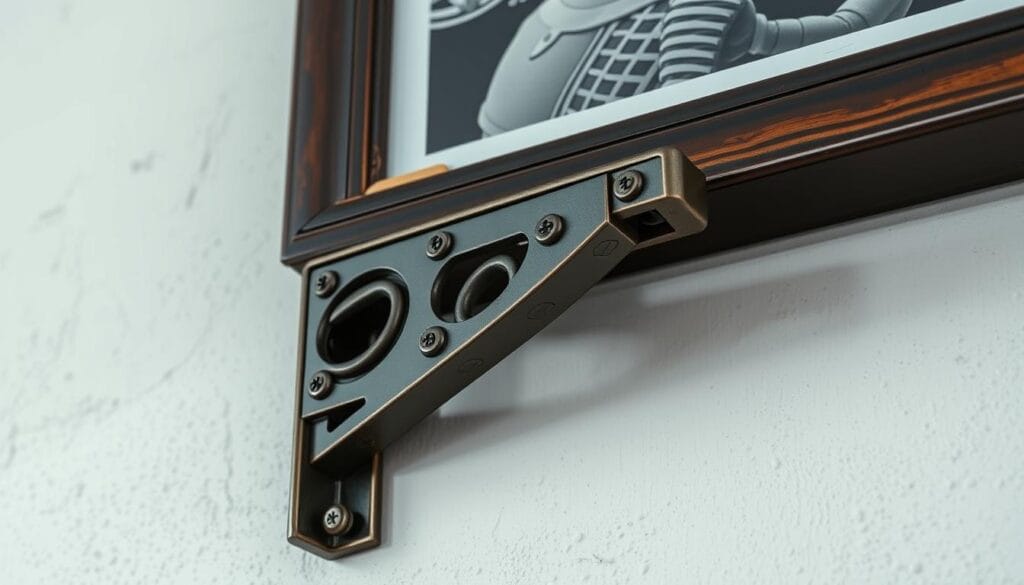
When hanging pictures on plaster walls, it’s key to avoid damage. Plaster walls are durable but can crack or break under stress. Don’t use hammers on the walls, as it can loosen the plaster-lath bond.
Pre-drill holes for screws and anchors to prevent cracking or chipping. Make sure to use hardware that can hold the weight of what you’re hanging. Clean the wall well before using adhesives for a strong bond.
Let adhesives and anchors cure fully before hanging pictures. This way, you can have damage-free wall hangings and avoid harming your plaster walls. Follow these steps to hang pictures safely and effectively.
| Common Mistakes to Avoid | Recommended Techniques |
|---|---|
| Using hammers directly on plaster walls | Pre-drill holes for screws and anchors |
| Failing to use appropriate weight-bearing hardware | Use suitable anchors and hardware for the item’s weight |
| Inadequate wall surface preparation | Thoroughly clean the wall before applying adhesives |
| Rushing the curing process for adhesives and anchors | Allow sufficient time for proper curing and bonding |
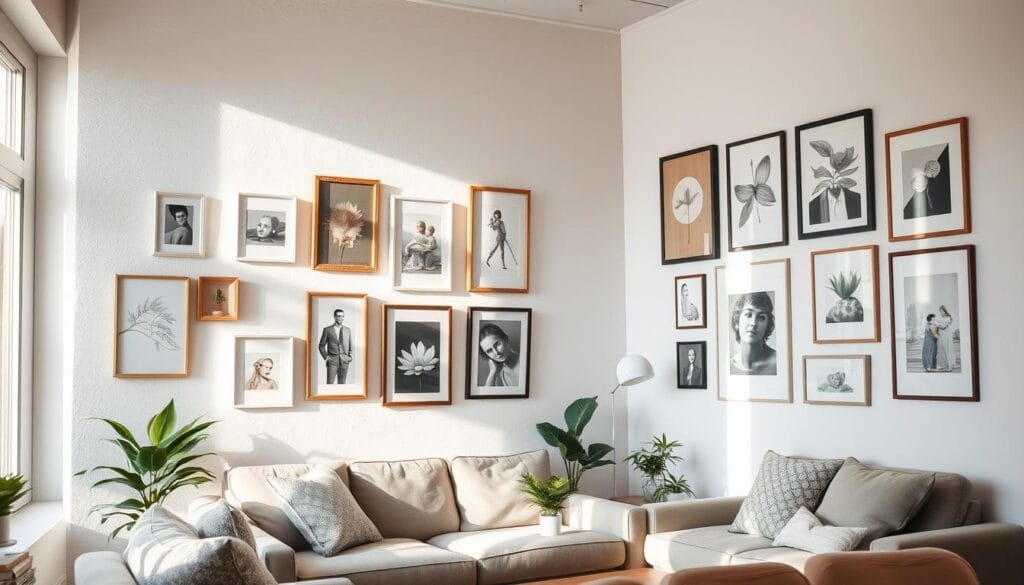
By sticking to these best practices, you can have damage-free wall hangings for a long time. You’ll also avoid common mistakes in wall hanging techniques on plaster surfaces.
Creating Gallery Walls on Plaster Surfaces
Creating a stunning gallery wall on plaster walls needs careful planning and a keen eye for arrangement. Whether you’re showcasing artwork, family photos, or decorative items, the secret to success is in the layout and how you put it together.
Layout Planning Strategies
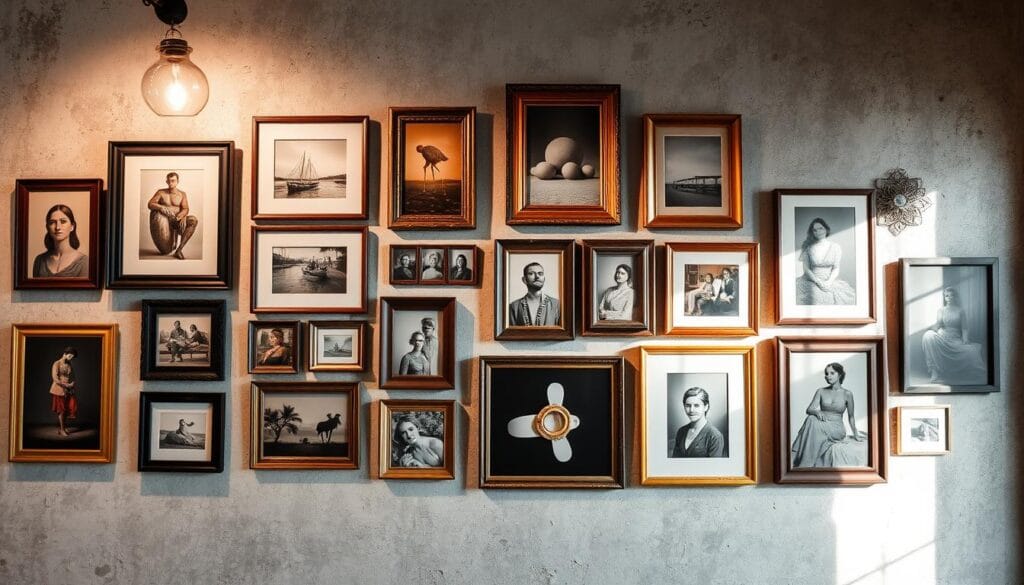
First, sketch out your gallery wall’s layout. Use a level to keep things straight and think about using a picture rail system for easy changes. Spread out the weight of your pieces on the wall, mixing sizes and directions for interest. Keep about 3 inches between each frame for a unified look.
- Start with a big piece to set the wall’s foundation.
- Use both horizontal and vertical pieces for depth.
- Try different frame styles and materials for a varied yet unified display.
- Add non-framed items like mirrors or decorative objects for more variety.
Professional Arrangement Tips
Think about the color palette and overall look when arranging your gallery wall. Stick to similar colors and intensities for harmony. Don’t hesitate to use floating mounts for a special touch. Personal items like family photos or keepsakes can make your gallery wall truly yours.
- Keep artwork 57 inches from the ground for a good height.
- Use 3-6 inches of space between frames and around them.
- Balance large pieces with smaller ones or empty frames for balance.
- Play with shapes and textures for a lively display.
Most importantly, enjoy the process! Gallery walls are a great way to show off your style and make a room’s focal point. By following these tips, you can turn your plaster walls into a beautiful, curated space.
| Recommended Spacing | Ideal Palette | Anchoring Piece |
|---|---|---|
| 3-6 inches between frames | Similar tones and intensities | Large wall art for a pulled-together look |
Conclusion
Hanging pictures on plaster walls needs careful thought. You must consider the wall’s type, the artwork’s weight, and the right hardware. By using the right tools and techniques, you can hang pictures beautifully without harming your walls. It’s also important to check and maintain your walls regularly.
Whether you’re hanging one piece or many, knowing about plaster walls is crucial. You need to pick the right hardware and prepare your walls and artwork well. This way, you can make your living spaces beautiful with the art you love.
Hanging pictures on plaster walls is more than just placing them. It’s about making your space look good, work well, and be safe. With careful planning, the right tools, and proper preparation, your artwork will stay beautiful for many years.
FAQ
What are the essential tools and materials needed for hanging pictures on plaster walls?
You’ll need a bathroom scale, hammer, and level. Also, get the right picture hook, painter’s tape, and sticky notes. You might also need a drill, drill bits, wall anchors, screws, and a screwdriver.
Don’t forget a pencil and tape measure too.
How do plaster walls differ from drywall, and why do they require special hanging techniques?
Plaster walls are denser and more brittle than drywall. This makes them more prone to damage when hanging pictures. Special techniques are needed to avoid damaging the plaster and the bond between the lath and plaster.
What are some common challenges when hanging pictures on plaster walls?
Hanging pictures on plaster walls can be tricky. Improper methods can loosen the bond between the lath and plaster. This increases the risk of cracking or crumbling the plaster surface.
How should I prepare the wall and picture before installation?
Clean and dry the wall first. Use a tape measure to figure out where to hang the picture. Mark it with a pencil and apply painter’s tape for extra guidance.
What are the different methods for hanging pictures on plaster walls?
For light pictures (5 lbs or less), use adhesive hooks or double-sided tape. For heavier pictures, drill a hole and use wall anchors and screws. For very heavy items, molly bolts are best.
How can I use picture rails or molding systems to hang pictures on plaster walls?
Picture rails are great for hanging large pieces. Install the rail into the wall and plasterboard. Choose a rail that’s slightly wider than the picture frame.
Attach picture hooks to the rail at your desired heights and spacing. This protects the plaster wall and gives you flexibility in arranging your pictures.
What are the benefits of using adhesive solutions for lightweight artwork?
Adhesive hangers are a good choice for light pictures (5 lbs or less) on certain plaster walls. Clean the wall well before applying the adhesive. Let it cure fully before hanging your artwork.
How can I prevent wall damage and common mistakes when hanging pictures on plaster walls?
Avoid using hammers directly on plaster walls to prevent damage. Pre-drill holes for screws and anchors. Use the right hardware and clean the walls before applying adhesives.
Let adhesives and anchors cure fully before hanging pictures.
What are some tips for creating a successful gallery wall on plaster surfaces?
Plan your gallery wall layout before starting. Use a level to ensure everything is straight. Consider a picture rail system for easy changes.
Spread the weight evenly and mix frame sizes and orientations for interest. Keep spacing between frames consistent for a unified look.

