
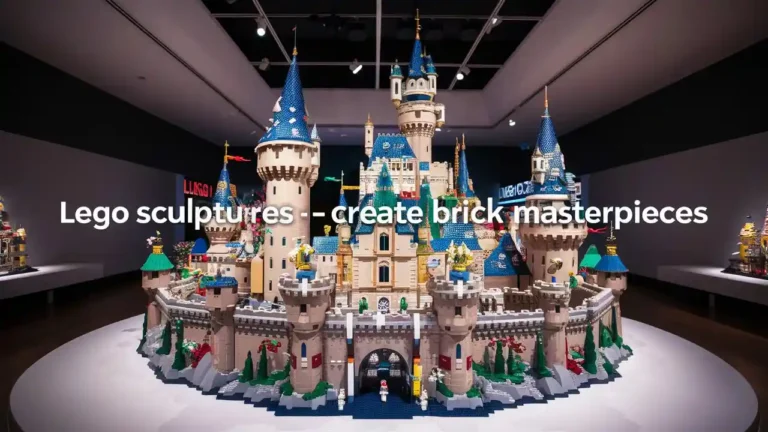
Imagine a world where every brick holds potential—a world where simple LEGO pieces transform into breathtaking works of art. Whether you’re new to the world of LEGO creations or a seasoned builder eager to push the boundaries, this guide is designed for you. Here, you’ll learn not only the fundamentals but also advanced techniques to turn your passion for LEGO into magnificent sculptures that captivate, inspire, and challenge conventional art forms. With this comprehensive guide, you’re about to embark on a journey to create LEGO sculptures that are as imaginative as they are structurally brilliant.
Table of Contents
Introduction
Your creative journey begins with a single brick, and in the realm of LEGO Sculptures, each piece offers endless possibilities. You may have marveled at the intricate models showcased in exhibitions or dreamed of building your own masterpiece at home. This article is crafted for you—the aspiring LEGO artist who values both creativity and precision. We’ll walk through the essential concepts, innovative techniques, and practical tips that will empower you to build your own LEGO sculptures. By the end of this guide, you’ll be equipped with the knowledge and inspiration you need to transform everyday LEGO bricks into works of art that express your unique vision.
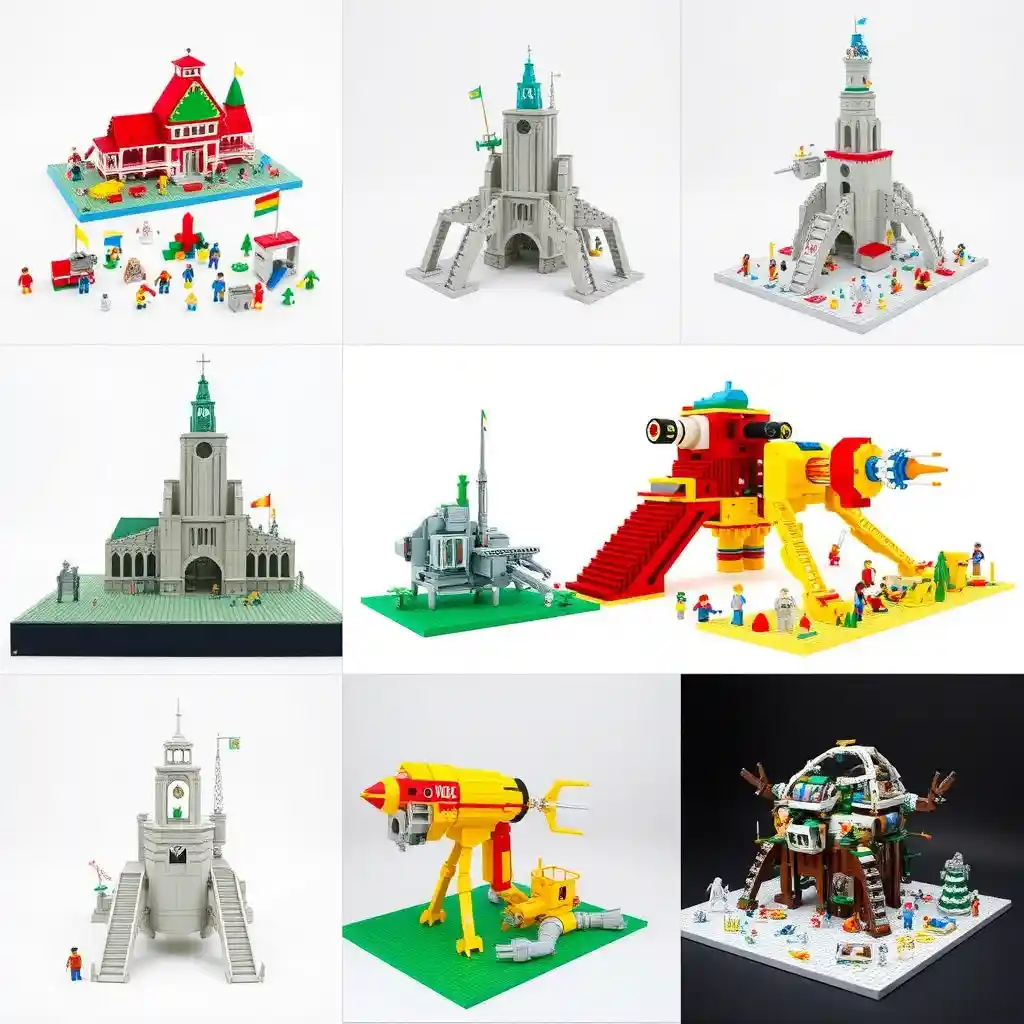
LEGO Sculptures have evolved from simple childhood play to a sophisticated art form practiced by both amateurs and professionals. These masterpieces vary from small, detailed models to large-scale, life-size installations. Whether you want to create a custom LEGO build that tells a story or a striking public art piece, you’ll find actionable insights, expert tips, and inspiring case studies that showcase the best in LEGO art.
What Are LEGO Sculptures?
Defining LEGO Sculptures
At its core, LEGO Sculptures refer to artistic creations constructed primarily from LEGO bricks. Unlike standard LEGO sets that follow set instructions, these sculptures are often custom builds—the results of personal innovation and intricate design. You’re not just putting pieces together; you’re constructing an artistic vision where every brick is purposefully placed.
Key concepts that define this art form include:
- LEGO Art: A general term for creative works built with LEGO pieces.
- Custom LEGO Builds: Unique constructions that veer away from standard playsets.
- Brick Creations and Models: Detailed structures that demonstrate both visual appeal and engineering acumen.
By understanding these foundational ideas, you can appreciate that LEGO Sculptures are more than mere toys—they are expressive, dynamic art pieces that challenge traditional boundaries.
The Universe and Inspirations
The world of LEGO Sculptures is vast and diverse. Inspiration for your projects can come from countless sources—popular culture, nature, architecture, and even abstract art. You might be drawn to recreating iconic movie scenes or constructing intricate models that mimic real-world structures. Every artist brings a personal touch to their creation, making each sculpture a unique narrative expressed through interlocking bricks.
Artists like Sean Kenney or Nathan Sawaya have pushed the limits of what LEGO can represent, creating pieces that have been exhibited in museums and galleries worldwide. Their work demonstrates that your LEGO sculpture can be more than a fun DIY project—it can be a profound statement of creativity and craftsmanship.
Techniques and Methods of Construction
Basic Methods for Beginners
If you’re just starting out, it’s essential to master the foundational techniques before diving into more complex builds. Here are some starting tips to guide you:
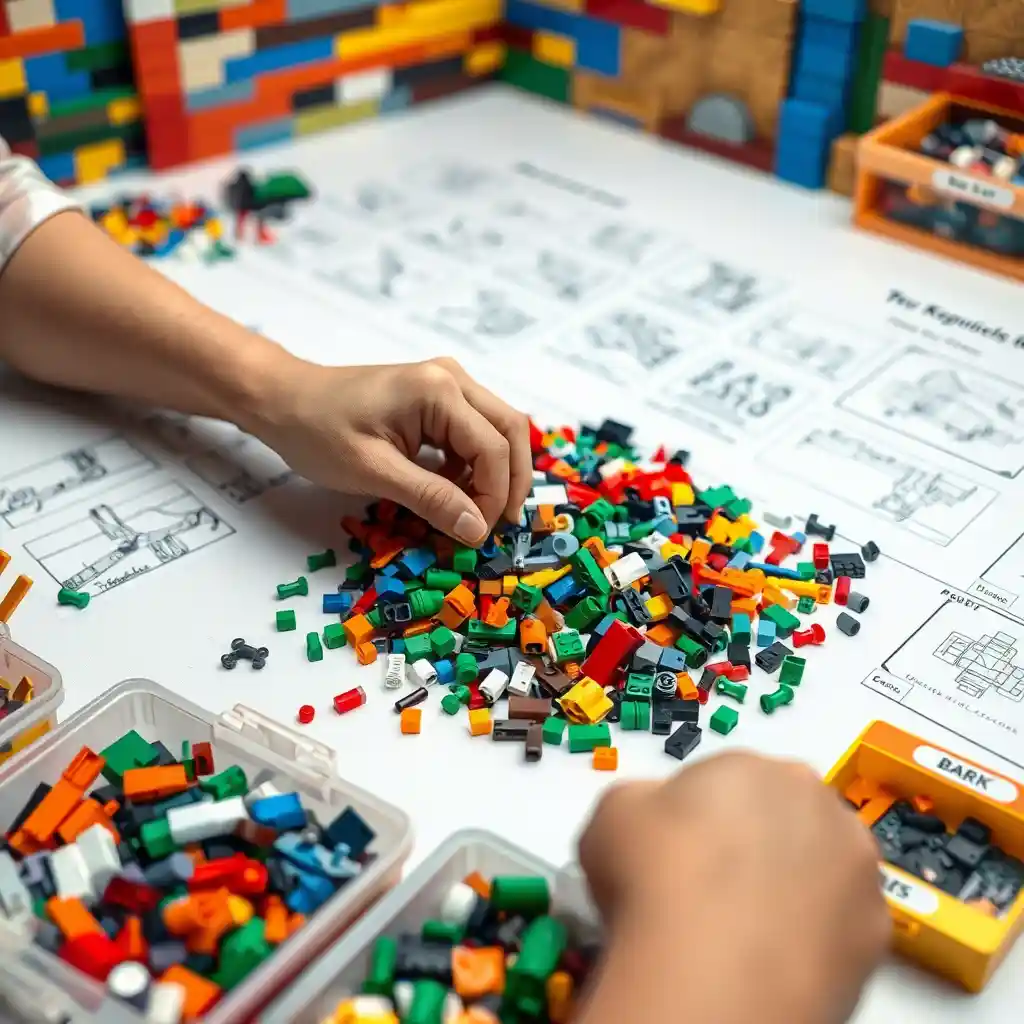
- Organize Your Bricks: Begin by sorting your bricks by color, size, or type. Proper organization saves time and helps you plan efficiently.
- Start Small: Instead of tackling a life-size project immediately, experiment with smaller models. This helps build confidence and familiarity with construction techniques.
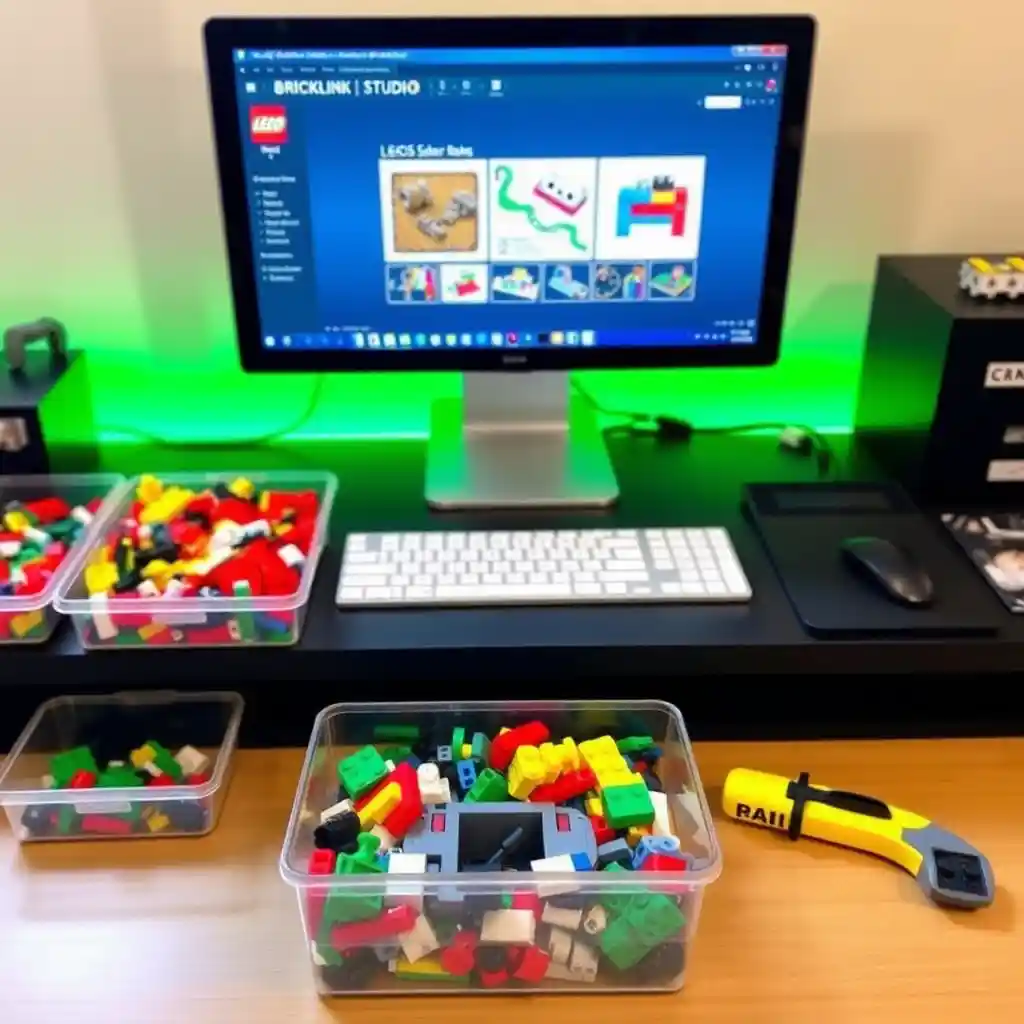
- Plan Your Build: Sketch your design on paper or use digital tools (such as BrickLink Studio) to create a blueprint of your sculpture. Knowing your design in advance will help you estimate how many bricks you need and identify potential challenges.
- Experiment Freely: Don’t be afraid to try new configurations. Early projects are the best time to learn and experiment with different patterns and connections.
These basic steps set the foundation for your creative journey and ensure that your early projects are both fun and instructive.
Advanced Techniques
Once you’ve mastered the basics, you’ll be ready to experiment with advanced techniques that add depth and complexity to your sculptures.
- SNOT Techniques (Studs Not On Top): This advanced method involves repositioning LEGO bricks so that their studs are not visible on the top surface. It enables you to achieve smoother surfaces and incorporate intricate detailing.
- Incorporating Greebles: Greebles are small, intricate details that add texture and visual complexity to your sculpture. Use them to create a more realistic or dynamic appearance.
- Interactive and Moving Parts: For a truly innovative design, consider adding elements that move. Experiment with gears and simple mechanical systems to create sculptures with moving components.
- Sustainable Building: Embrace eco-friendly practices by incorporating recycled LEGO bricks into your projects. This not only reduces waste but also gives your sculpture a unique story and character.
By pushing the envelope with advanced techniques, you can elevate your LEGO builds to a whole new level of artistry and technical achievement.
Tools and Resources for LEGO Sculptures
Essential Tools and Software
Having the right tools is crucial for both efficiency and creativity. Here are some recommendations:
- Physical Tools:
- Brick Separators: These are indispensable for dismantling and reusing bricks without damaging them.
- Storage Solutions: Use labeled bins or trays to sort your bricks by color or size, saving you valuable building time.
- Digital Tools:
- BrickLink Studio: This software allows you to design your LEGO sculpture digitally. It helps you visualize your build, estimate the number of bricks needed, and experiment with different configurations before starting your physical build.
Utilizing both physical and digital tools can significantly enhance the quality and precision of your LEGO Sculptures, ensuring that each project is meticulously planned and executed.
Resources and Communities
Venturing into LEGO art is best done with a little help from experienced builders. Tap into the following resources:
- Online Marketplaces: Websites like LEGO.com and BrickLink Marketplace are great for sourcing specific bricks or bulk quantities needed for large projects.
- Communities: Join forums, social media groups, or local clubs dedicated to LEGO art. These communities often host contests, exhibitions, and workshops where you can share your work and learn from others.
- Exhibitions and Contests: Attend LEGO exhibitions or competitions to see the latest trends and techniques. These events offer tremendous inspiration and are perfect for networking with fellow enthusiasts.
By engaging with these tools and communities, you’ll find inspiration, support, and practical advice that will guide you throughout your creative journey.
Practical Tips and Creative Tricks
Organization and Planning
As you embark on your LEGO Sculpture projects, effective organization is key. Follow these tips to keep your materials and ideas in check:
- Sort and Label: Organize your bricks before you begin a project. Use containers with clear labels for colors and sizes.
- Develop a Blueprint: Whether you sketch your design on paper or use digital tools, a clear plan is essential. This blueprint should include dimensions, key structural elements, and color schemes.
- Create a Timeline: Depending on the scope of your project, set milestones and deadlines to keep your project on track. This helps manage your time and resources better.
These organizational strategies will not only make your building process more efficient but will also boost the overall quality of your finished sculpture.
Creativity and Customization
Let your personality shine through by adding unique, personalized elements to your projects:
- Custom Details: Incorporate personalized touches such as custom decals, unique color combinations, or blended materials (like adding acrylic or even metal accents).
- Mix Materials: While LEGO bricks are your main medium, don’t hesitate to integrate other elements. Combining LEGO with recycled materials or different textures can add depth and intrigue to your creation.
- Experiment with Layouts: Try different configurations and techniques. Sometimes, a slight variation in the arrangement can completely transform the final outcome.
- Document and Share: Keep a record of your projects with photos and notes. Sharing your process online not only inspires others but also allows you to track your progress and refine your techniques.
With these creative tricks, you’ll have the freedom to explore beyond conventional designs and create LEGO Sculptures that truly reflect your vision.
Inspirational Examples and Case Studies
Successful Projects and Experiences
Real-world examples can provide tremendous insight and motivation. Here are a few case studies to inspire your own creations:
- Exhibition-Worthy Models: Look at renowned LEGO artworks that have been exhibited internationally. Artists like Nathan Sawaya have redefined what is possible with LEGO, showing that the medium can be as expressive as any traditional art form.
- DIY Transformations: Read testimonials from creators who started with simple models and gradually scaled up to more ambitious projects. Their journeys highlight the importance of persistent experimentation and continuous learning.
- Before-and-After Stories: Consider projects that showcase the transformation of a basic LEGO model into an intricate sculpture. Visual galleries and time-lapse videos offer step-by-step insights into the creative process.
Gallery of Images and Videos
A visual gallery is essential for capturing the imagination of your audience. Enhance your article with:
- Photo Galleries: Include high-quality images at various stages of a build, along with detailed captions explaining the techniques used.
- Video Tutorials: Embed videos that demonstrate key techniques such as SNOT methods or the use of digital design tools like BrickLink Studio.
- Interactive Tours: Where possible, provide interactive elements (such as 360° views) of completed sculptures to allow readers a closer look.
These visual resources not only enrich the article but also help readers better understand the practical aspects of creating LEGO Sculptures.
Frequently Asked Questions (FAQ)
To address common concerns and provide clarity, here are answers to some frequently asked questions about LEGO Sculptures:
What inspires the creation of LEGO Sculptures?
Inspiration often comes from various sources—pop culture, nature, abstract art, or even personal experiences. Many artists find that LEGO sculptures enable them to express ideas that traditional media cannot.
How long does it take to build a LEGO Sculpture?
The time required varies widely. Small, simple projects might take only a few hours, while elaborate, large-scale sculptures could require weeks or even months of dedicated work.
How many LEGO bricks are needed for a life-size sculpture?
Large sculptures may use tens of thousands of bricks. The exact number depends on the sculpture’s complexity and size, so careful planning and estimation are crucial before you begin.
Do LEGO Sculptures need glue for stability?
While many LEGO models are constructed using the interlocking nature of the bricks, some artists use specialized adhesives or support structures for added stability, especially in large or intricate projects.
What tools and software can help me build advanced LEGO Sculptures?
Tools such as brick separators, storage bins, and precision cutters are essential.With planning software like BrickLink Studio, you can design your sculpture virtually, accurately forecast brick counts, and visualize even the most complex assemblies.
How should I display my LEGO Sculpture to ensure it stays intact?
Secure displays, custom-built stands, and protective enclosures can help preserve your work. Make sure the lighting is appropriate and that the sculpture is shielded from dust or accidental contact when on display.
Can I mix LEGO with other materials?
Yes, many creators integrate additional elements like acrylic sheets, metal rods, or even recycled materials into their LEGO designs to add unique textures and enhance the visual impact.
Conclusion
You now have a thorough roadmap to explore the fascinating world of LEGO Sculptures. Every brick you connect is a step toward transforming your creative vision into a tangible masterpiece. This guide has given you insights into foundational techniques, advanced building methods, essential tools, and inspiring examples of what is possible with LEGO art.
Whether you are just starting your journey or seeking to elevate your skills, remember that every great creation starts with imagination, planning, and a willingness to experiment. Embrace the challenges, learn continuously, and transform your ideas into stunning LEGO Sculptures that tell your unique story.
Call-to-Action:
Are you ready to start building your own LEGO masterpieces? Share your projects and experiences with our community, join discussions on LEGO art forums, and don’t forget to subscribe to our newsletter for more creative tips and step-by-step guides. Your next masterpiece is only a brick away—let your creativity shine and start building today!
By following this comprehensive guide, you’ll not only boost your skills in LEGO artistry but also contribute to a vibrant community of makers. Unleash your creativity, explore new techniques, and enjoy the incredible journey of creating art—one brick at a time.