
1. Introduction:
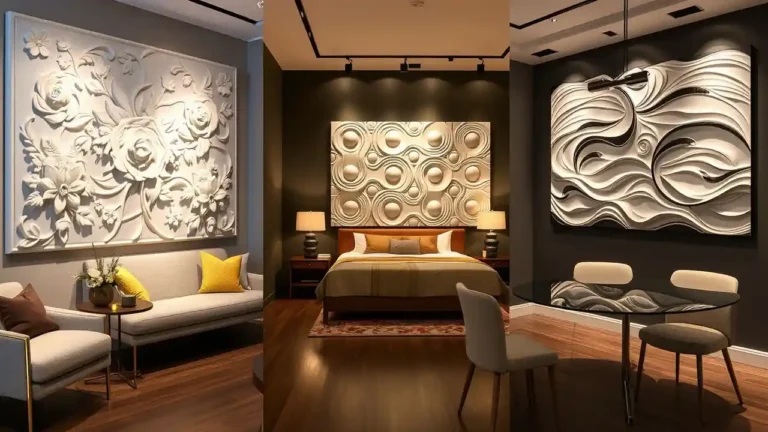
If you’ve been scrolling through design magazines or Instagram feeds lately, you’ve probably noticed a surge of interest in plaster wall art. These tactile, sculptural surfaces aren’t just a passing fad—they’ve become a cornerstone of modern interiors. In 2025, homeowners and designers alike are embracing plaster wall decor for its ability to turn a flat plane into a living, breathing work of art.
You might wonder what’s driving this revival. Depth and texture unmatched by paint or wallpaper: Plaster wall art delivers a richness that flat finishes simply can’t replicate. Light plays differently across its contours and reliefs, creating subtle shadows that shift with the time of day. Second, advances in materials—such as lightweight art plasters and eco‑friendly lime blends—have made DIY plaster projects accessible even if you’re not a professional artisan. Lastly, in an era when personalization is paramount, you can tailor every detail: from color and finish to the very pattern you carve or cast.
By the end of this guide, you’ll understand what plaster wall art really is, know the tools and materials you need, and follow a step‑by‑step tutorial to create your own textured masterpiece. Let’s dive in!
Table of Contents
2. What Is Plaster Wall Art?
2.1 Definition & Scope
At its core, plaster wall art refers to any decorative treatment where plaster—traditionally a mixture of gypsum, lime, or cement—is sculpted, molded, or layered directly onto a wall to produce a relief or sculptural effect. Unlike flat paint, plaster wall decor becomes an integral part of the architecture, merging art and structure.
Common forms include:
- Plaster relief wall art: shallow sculptural forms projecting slightly from the wall.
- 3D plaster wall art: pronounced shapes that create strong shadows and depth.
- Textured plaster wall art: subtle trowel marks or stippled surfaces for an artisanal feel.
2.2 History & Modern Revival
Historically, plaster has ornamented grand buildings for millennia—think Roman frescoes and Renaissance stucco. However, the technique fell out of favor in the 20th century as drywall and paint took over. Today, designers are rediscovering traditional methods (stucco Veneziano, marmorino) and adapting them with modern materials and tools. In 2025, you can find everything from handcrafted lime plasters to fast‑setting gypsum casts, making sophisticated finishes possible in a weekend project.
3. Main Styles & Techniques
3.1 Textured Plaster Wall Art
Easy entry with textured finishes: Starting with a textured coat is a simple way to dive into plaster wall art. Whether you crave a weathered vibe or a rustic farmhouse accent, you can:
- Dappled effect: Stipple the surface with a sponge or brush for a softly mottled look.
- Trowel‑drag in random swirls for an organic, Mediterranean feel.
- Comb with a notched tool for horizontal striations.
These approaches require little sculptural skill but yield rich, handcrafted surfaces.
3.2 Sculptural & Relief Designs
When you want to make a bold statement, employ relief techniques:
- Freehand sculpting: Apply a 5–10 mm layer of plaster and, while it’s still pliable, carve out shapes—leaves, waves, or abstract designs—for a bespoke relief.
- Mold‑casting: Press silicone or rubber molds into a fresh plaster layer, then remove to reveal repeated motifs (e.g., rosettes, geometric tiles).
Relief work transforms your wall into a gallery of low‑relief sculptures.
3.3 3D & Geometric Patterns
For a contemporary edge, explore 3D plaster wall art with geometric designs. Sharp angles and repeating modules—hexagons, triangles, cubes—offer a dynamic interplay of light and shadow. You might:
- Build up sections with lightweight plaster, then sand edges for crisp lines.
- Use laser‑cut templates to guide your trowel or sculpting knife.
This style shines in modern living rooms, entryways, or office lobbies.
4. Benefits of Plaster Wall Art
Embracing plaster wall art brings you multiple advantages:
- Durability & Longevity: Once fully cured and sealed, plaster resists impacts far better than paint.
- Low Maintenance: Simple dusting or gentle wiping keeps your reliefs pristine.
- Eco‑Friendly Options: Lime‑based and natural‑pigment plasters minimize VOCs and emissions.
- Acoustic & Thermal Benefits: The mass and irregular surface can help dampen sound and retain heat.
- Customizability: You control everything—from texture and scale to subtle color washes or high‑gloss wax finishes.
With these perks, plaster wall decor is more than decorative: it enhances comfort and sustainability in your home.
5. Materials & Tools You’ll Need
5.1 Choosing Your Plaster
Selecting the right plaster is critical. Consider:
- Plaster of Paris: Fast‑setting, ideal for small sculptures and repairs.
- Gypsum‑based art plaster: Slower set time, smoother finish, great for relief panels.
- Lime‑based plaster: Breathable and eco‑friendly—perfect for historic restorations and humid rooms.
- Ready‑made art plasters: Often blended with polymers for strength, consistency, and color options.
5.2 Essential Tools
Gather these basics before you start:
- Trowels & Spatulas: Wide stainless‑steel trowel for broad strokes; narrow spatula for detail work.
- Hawk Board: Holds small plaster batches close at hand.
- Mixing Buckets & Drill Mixer: Ensures a lump‑free consistency.
- Sculpting Tools & Brushes: Dental picks, ribbon tools, stiff‑bristle brushes for texture.
- Molds & Templates: Silicone molds or laser‑cut boards for repeat patterns.
- Safety Gear: Dust mask, gloves, safety glasses—plaster dust can irritate lungs and eyes.
Having organized tools on hand prevents mid‑project delays and keeps your workflow smooth.
6. Step‑by‑Step DIY Plaster Wall Art Tutorial
6.1 Prep Your Space & Wall
Proper preparation is 80% of a flawless finish:
- Protect Surroundings: Tape off trim, lay drop cloths, seal outlets.
- Clean & Repair: Remove loose paint or drywall dust; fill cracks with patching compound.
- Prime: Apply a bonding primer or diluted plaster slurry to promote adhesion. Let it cure fully.
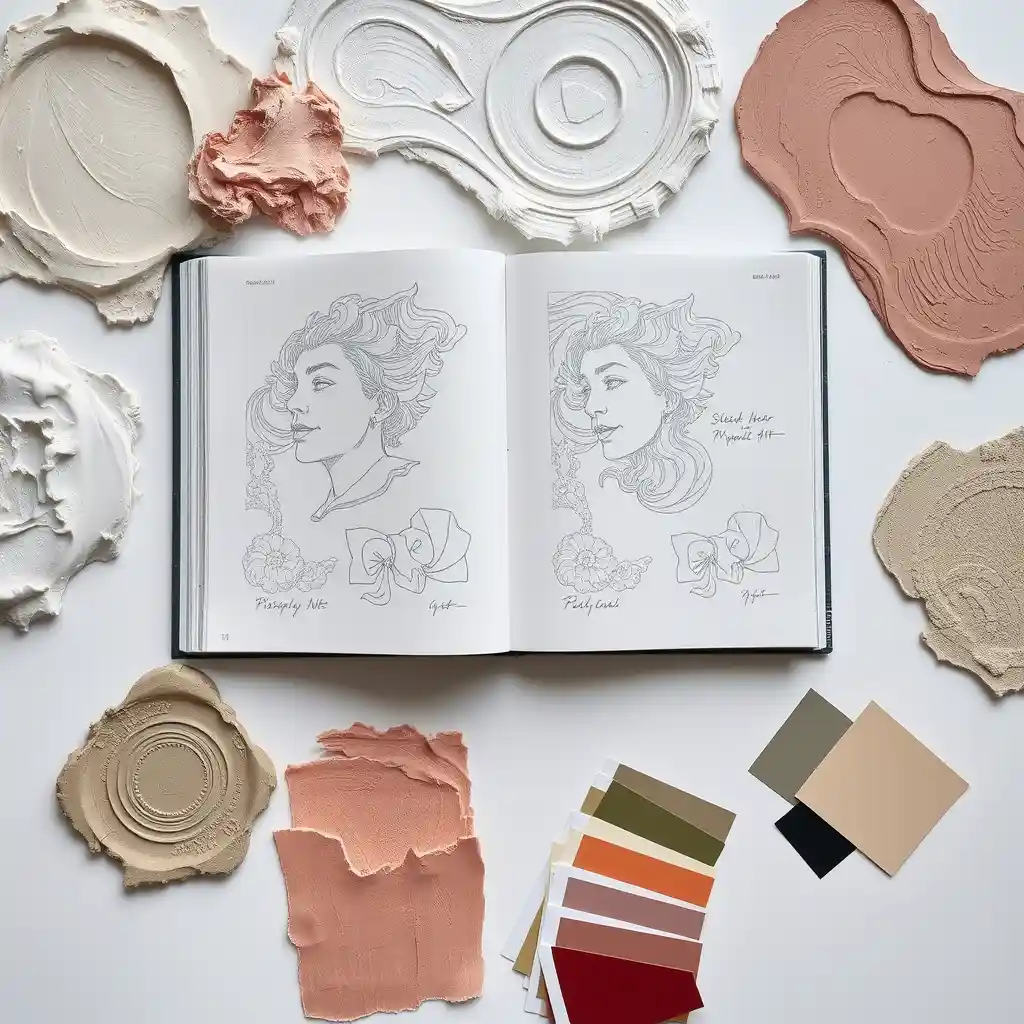
6.2 Mixing & Tinting Your Plaster
- Measure: Follow manufacturer ratios—too much water weakens the set.
- Mix: Use a drill mixer on low speed to avoid air bubbles.
- Add Pigment: For colored wall art, pre‑blend powdered pigments into clean water before adding plaster. Test on a sample board to verify hue.
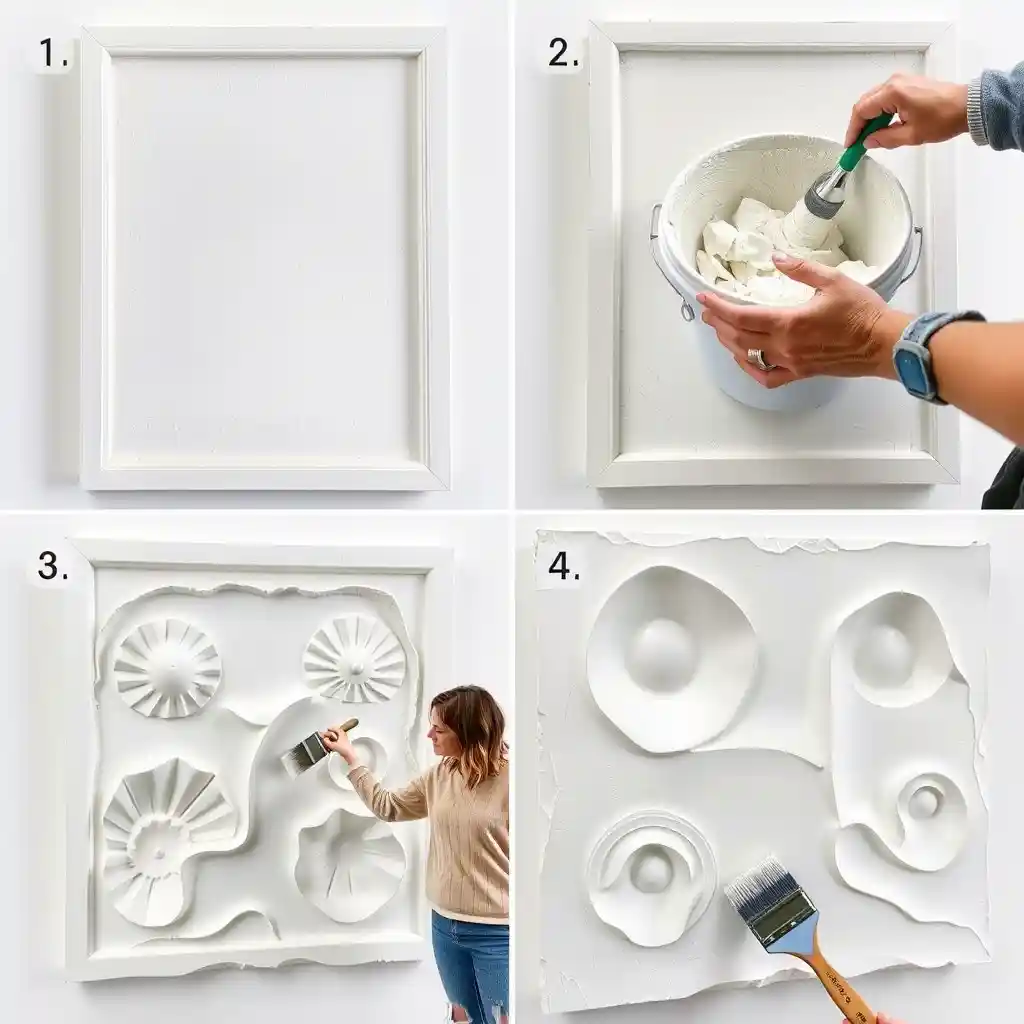
6.3 Sculpting & Texturing
- Base Coat: Spread a 2–3 mm layer with your trowel. Let it firm slightly (10–20 minutes).
- Second Coat & Texture: Add another thin layer. While it’s workable, apply your chosen texture—drag a brush, press a mold, or carve shapes.
- Relief Work: For deeper sculptures, build up areas to 10 mm, then carve with sculpting tools.
Work in small sections to maintain control over drying times and ensure consistent texture.
6.4 Drying, Curing & Finishing
- Dry Time: Let plaster dry slowly—avoid direct heat or airflow. Depending on thickness and humidity, full cure can take 24–72 hours.
- Sanding: Lightly sand high spots or rough edges with fine‑grit paper.
- Seal: Apply a clear matte or wax sealer to protect the surface and deepen color. For humid areas, use an acrylic sealer rated for wet conditions.
7. Installation & Hanging Tips
If you’ve created plaster wall panels off‑site or are mounting heavy reliefs, follow these guidelines:
- Locate Studs: Use a stud finder for secure anchoring.
- Heavy‑Duty Anchors: Toggle bolts or masonry anchors work best for weight over 5 kg.
- French Cleats: Provide support across the width of panels and allow easy removal.
- Even Spacers: Maintain consistent gaps between modular relief pieces for a cohesive look.
Taking the time to plan and secure your artwork ensures safety and longevity.
8. Maintenance & Repair
Your sculptural walls are surprisingly easy to care for:
- Dusting: Use a soft brush or microfiber duster to remove surface dust.
- Spot Cleaning: Dampen a cloth with mild soap solution; blot gently—never scrub.
- Crack Repair: For hairline cracks, inject thinned plaster slurry, smooth with a spatula, and reseal after curing.
- Re‑Waxing: If you used wax sealer, refresh annually with a thin coat of paste wax buffed into the surface.
Regular light maintenance keeps your plaster wall art looking fresh for years.
9. Design Inspiration & Project Ideas
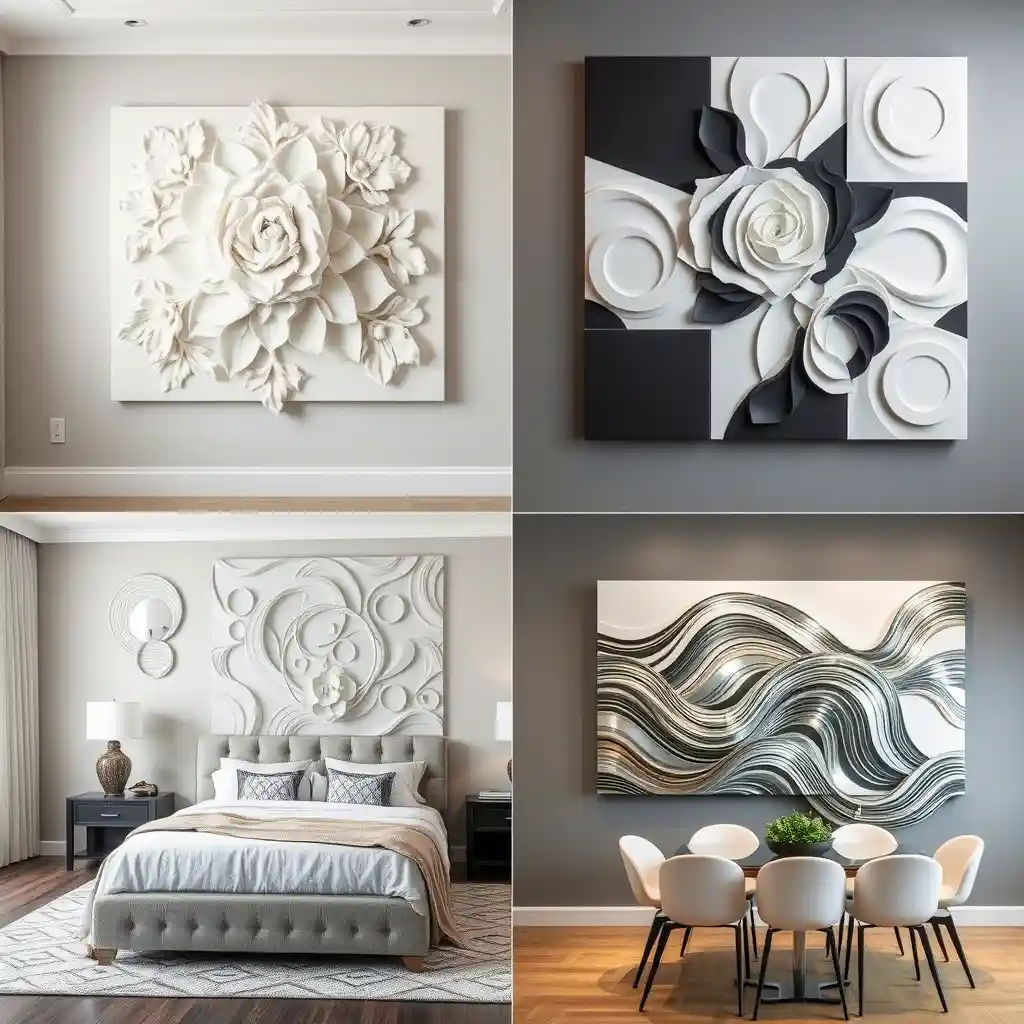
9.1 Living Room & Bedroom Feature Walls
- Soft Florals: Carve delicate petals and vines for a subtle, romantic backdrop behind a bed or sofa.
- Abstract Waves: Sweep curved reliefs across a focal wall for a soothing, ocean‑inspired effect.
9.2 Thematic Collections
- Geometric Gallery: Arrange hexagonal or triangular panels in contrasting finishes for a modern mosaic.
- Botanical Reliefs: Press real leaves or bird tracks into wet plaster for an organic statement.
9.3 Large‑Scale Murals
If you’re feeling ambitious:
- Full‑Wall Mural: Sketch a scene on the wall, then build reliefs—mountains, cityscapes, or abstract forms—layer by layer.
- Integrated Lighting: Recess LED strips behind thicker reliefs to highlight contours and cast dramatic shadows at night.
These concepts show how plaster wall decor can be as bold—or as understated—as you desire.
10. FAQ (Featured Snippets)
Q1: How can I create plaster wall art at home?
A1: Prep your wall, apply two to three thin plaster coats, add texture or sculpt reliefs while wet, then seal.
Q2: What materials do I need for DIY plaster wall art projects?
A2: You’ll need your chosen plaster (gypsum or lime), pigments, mixing tools, trowels, sculpting tools, and safety gear.
Q3: Are there easy techniques for making textured plaster wall art?
A3: Yes—use stippling brushes, sponges, or comb tools on a firm base coat for instant texture.
Q4: How do I hang heavy plaster wall art safely?
A4: Anchor into studs with toggle or masonry bolts, or use French cleats for large panels.
Q5: How do I repair or restore damaged plaster wall art?
A5: Clean the area, fill cracks with a slurry of your plaster mix, smooth, let cure, then re-seal.
11. Conclusion & Call to Action
Now that you’ve explored the world of plaster wall art, from its storied history to hands‑on tutorials and maintenance tips, you’re ready to transform your own walls. Whether you start with a small relief panel or tackle a full‑height feature wall, the process is immensely satisfying—and the results, breathtaking.
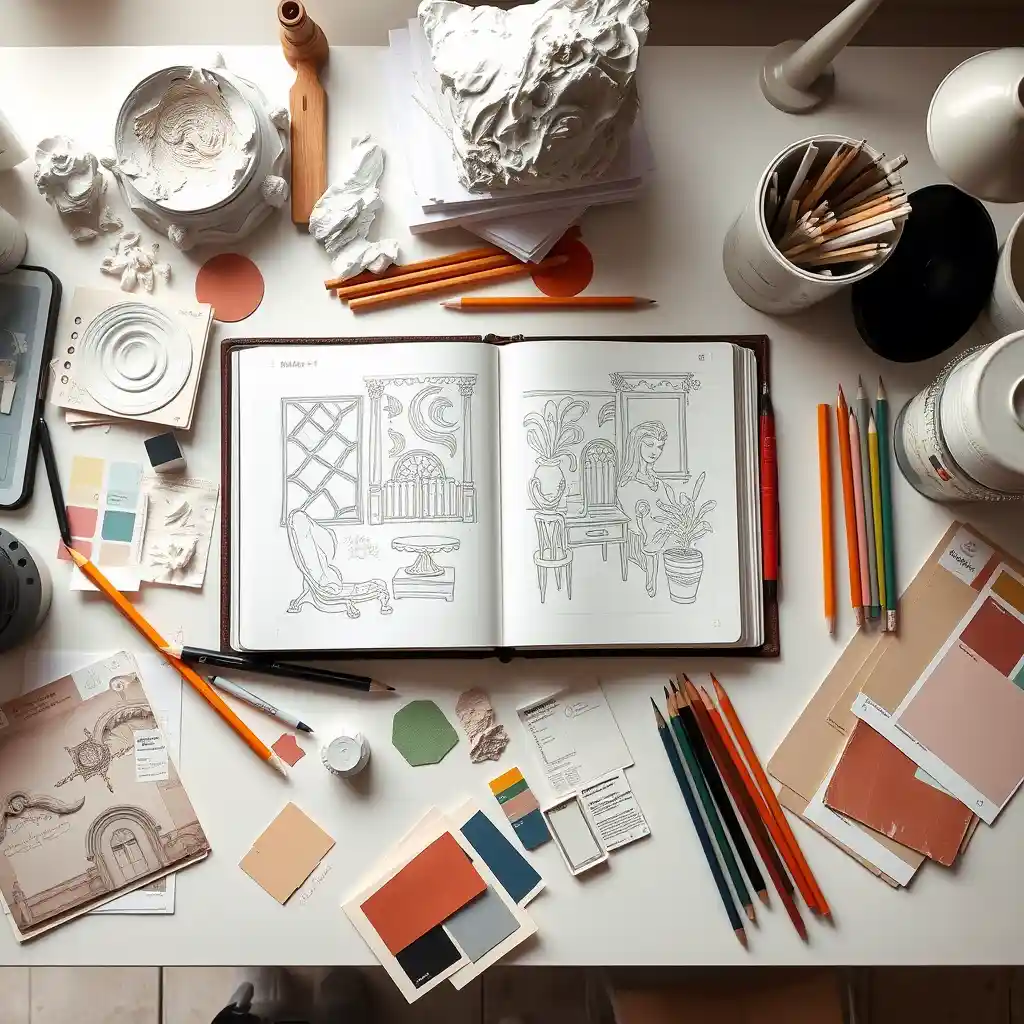
Your next steps:
- Gather materials and practice on a sample board.
- Sketch your design and plan your sections.
- Share your progress and final masterpiece on social media with #MyPlasterWallArt.
Let your creativity flow—your walls deserve to be more than background; they’re canvases begging for expression.